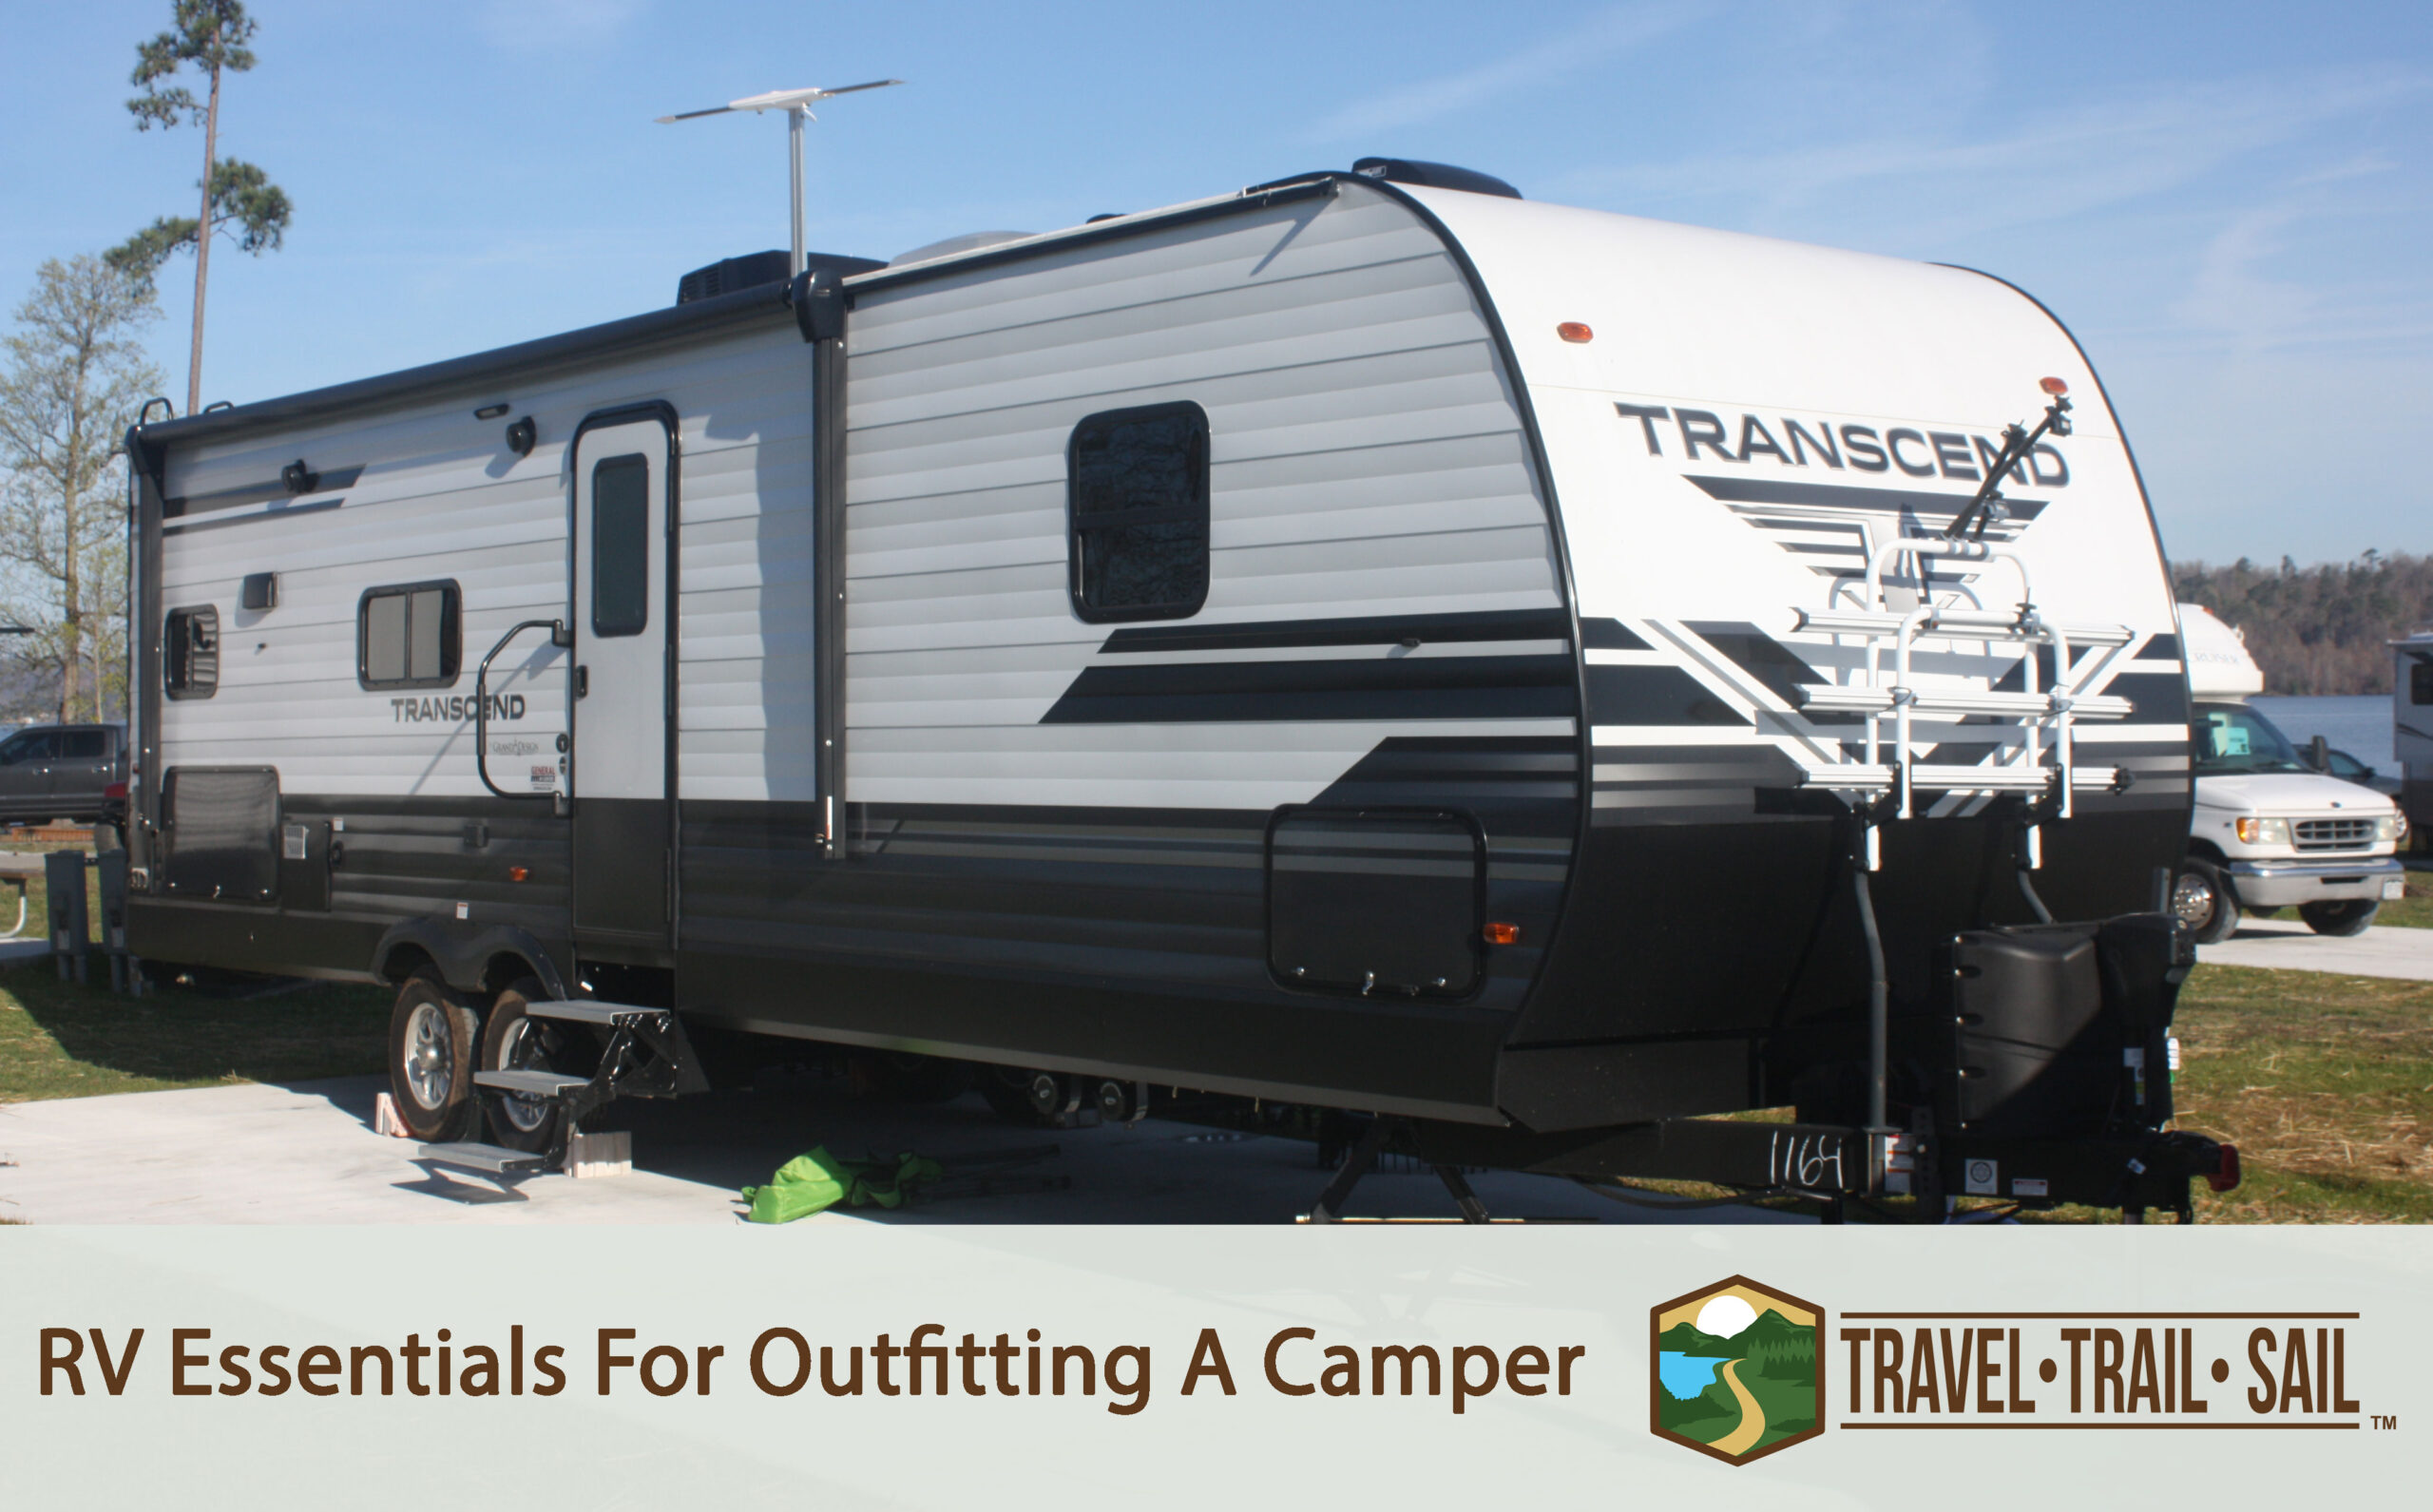
RV Essentials For Outfitting A Camper
Outfitting a camper takes a lot of gear. Our RV Essentials Guide for Outfitting a Camper tells you what you need. Includes a printable shopping guide.
We started our RV camping adventures in 2010. I had no idea what we really needed for our new camper. Our dealer had given us an RV Accessory Starter Kit, but the first camping trip demonstrated that it was really not what we needed. I did as much research as I could, put together a list of RV essentials and headed out for adventure. We shared what we learned in a post on Outfitting a Camper. We have learned a lot since then. With the ten-year anniversary of our RV travel adventures, it is time to share an updated list of the RV Essentials for Outfitting a Camper.
I’ll break things down into what you need for outside and inside. Outfitting a camper is about the same as what you would need for an apartment or vacation home. However, there are a few unique elements that you’ll need, like a drinking water hose and a sewer hose. There are a few things I’ll mark as optional, that is I recommend them but they aren’t essential. When you are ready to shop, click from our site to Amazon or Camping World. Or, download and print this RV Essentials for Outfitting a Camper Shopping Guide.
You can find most of what you need at your RV Dealer, Camping World, Amazon or even at Wal-Mart. For your convenience, I have added links to Amazon. If you choose to purchase from them there is no additional cost to you, but we earn a commission that helps enable us to continue sharing helpful information.
RV Essentials For Outside The Camper
RV Essentials Fresh Water
When you get to a campground, you’ll need to hook up your water connections. At a minimum, you’ll want a 25 foot fresh water hose, water pressure regulator and water filter. Choose the water filter that comes with a flexible hose to make connecting easier. You should consider getting two 25 foot hoses in case you end up in a site where the water hookups are a long way from your connection. The plain white freshwater hose will work fine but consider upgrading to a nicer fresh water hose.
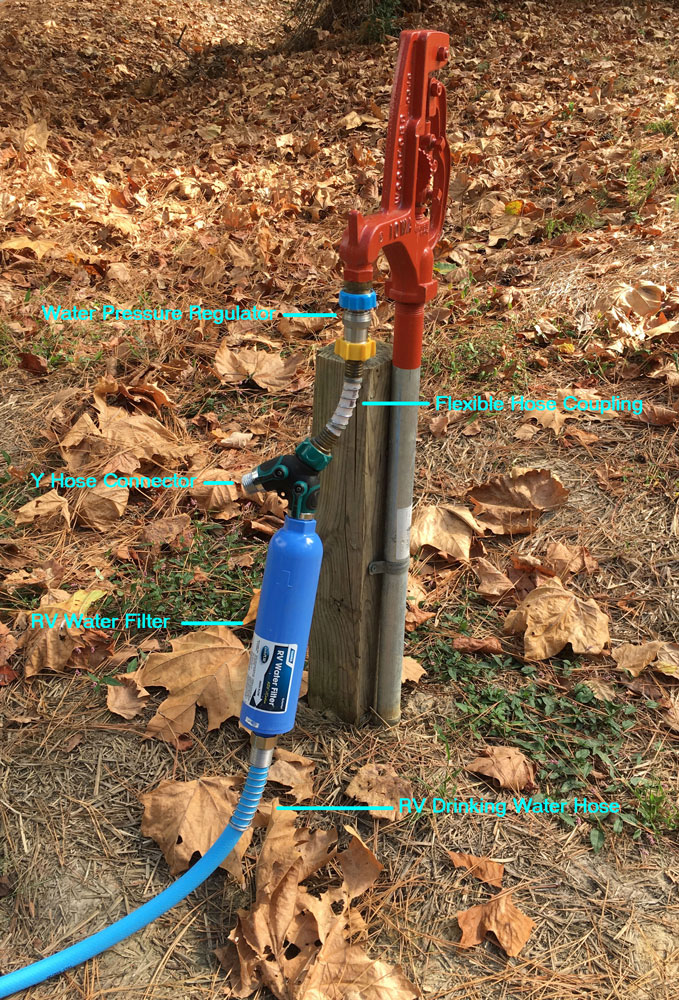
If you want to see our fresh water setup, check out our post RV Drinking Water Safe Hose Connections.
If you’ll be camping in colder weather, there are a few specific items you’ll need to ensure your water lines don’t freeze. If you think you’ll be doing some cooler-weather camping, check out our post Cold Weather RV Camping Tips for a list of the things you’ll need.
RV Essentials Sewer
If your RV came with a sewer hose, it is likely a flimsy ten-foot hose that doesn’t have the proper connections on both ends. What you actually need is at least fifteen feet of sewer hose. Having two ten-foot sections will provide more flexibility. One end of the hose should have a four prong connector to hook to the camper. The other end should have a 90 degree elbow with a fitting that connects the hose to the sewer dump. Several brands make good hoses. Just look for one that is relatively sturdy.
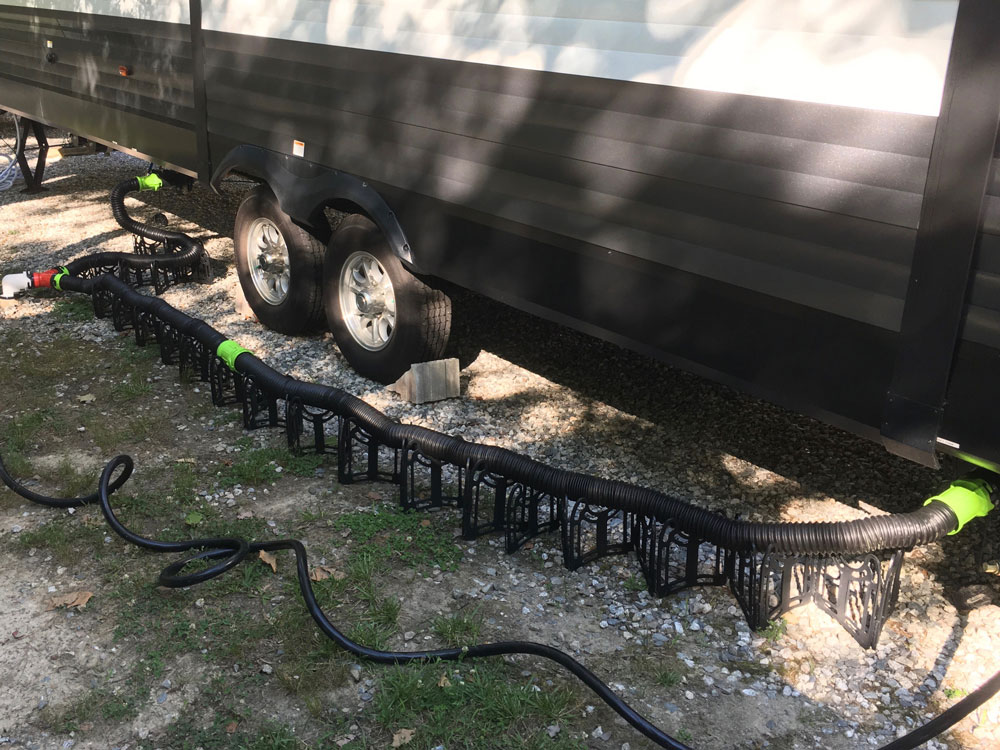
To make dumping easier at a full hookup site, you’ll want a sewer hose support. This helps support the hose and keep it flowing from the camper down to the dump hookup.
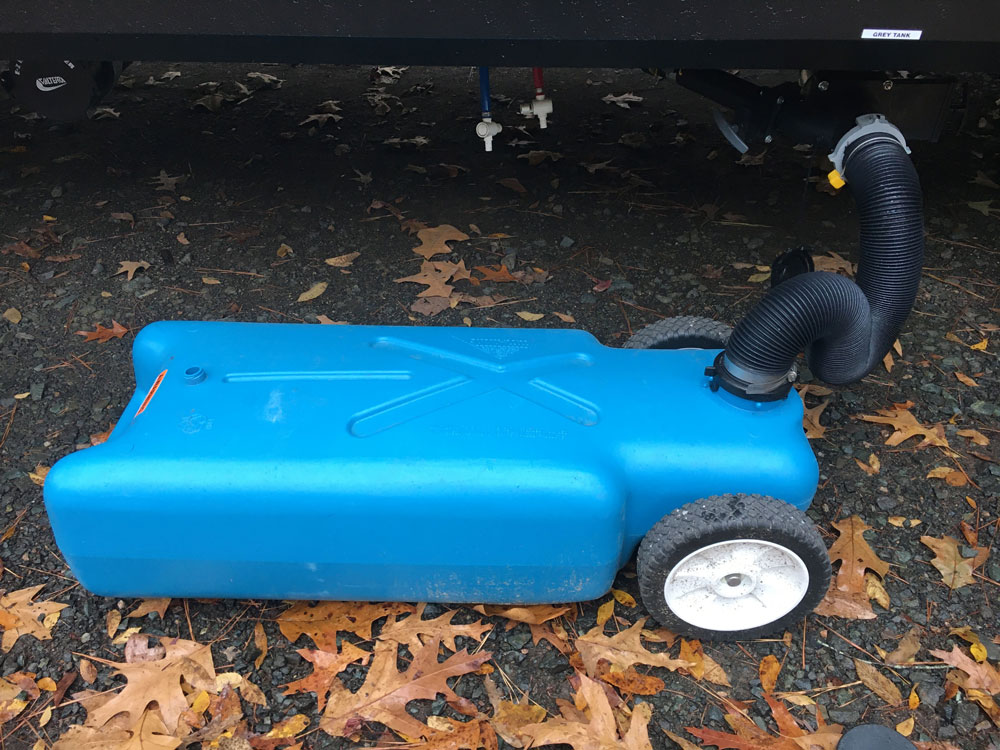
If you are staying at a campground that has only water & electric hookups, you will want to consider a portable waste tank. I wrote about how we use ours at Blue RV Tote Tank Parade.
If you have more than one gray & blank tank connection, check out our post RV Sewer Hose Setup For Two Connections
Consider where you will store your hose and fittings when not in use. Smaller hoses can often fit in the bumper of your camper. However, when you upgrade to a nicer hose, it may not fit. The 90 elbow and sewer fitting may need to be disconnected from the hose and stored somewhere. We keep the fittings in a 5 gallon bucket lined with a trash bag. Since our sewer hose setup requires three hoses to work, I added additional sewer hose storage. You can check out our setup at RV Sewer Hose Storage Carrier Project.
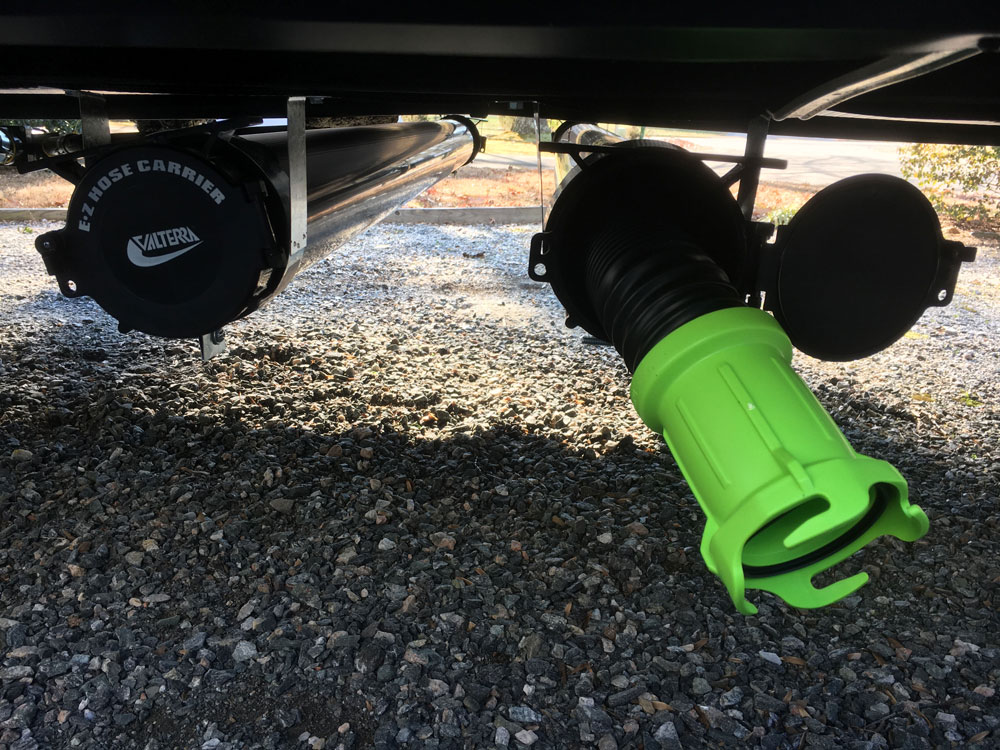
When handling the sewer hoses, keep good sanitation in mind. Most dump stations do not have a hand washing station nearby. I keep disposable gloves and hand sanitizer handy.
Optional: If you have a black tank flush, you’ll want to consider adding a second hose that is a different color from the fresh water hose. To connect both at the same time, add a hose splitter.
RV Essentials Electrical
Unless you are going to be camping off the grid, you’ll also need to plug in to power. Your RV camper likely has either a 30 AMP or 50 AMP power cord. Many of the 30 AMP campers have an electric cable permanently attached. It often retracts into a box. 50 AMP connections often have a separate cord. For either, you might want to have an extension in case you have to park a ways from the hookup. A regular home extension cord isn’t sufficient to handle the load so you need to get at least a 30 AMP extension. You’ll want some way to store the power cord or extension.
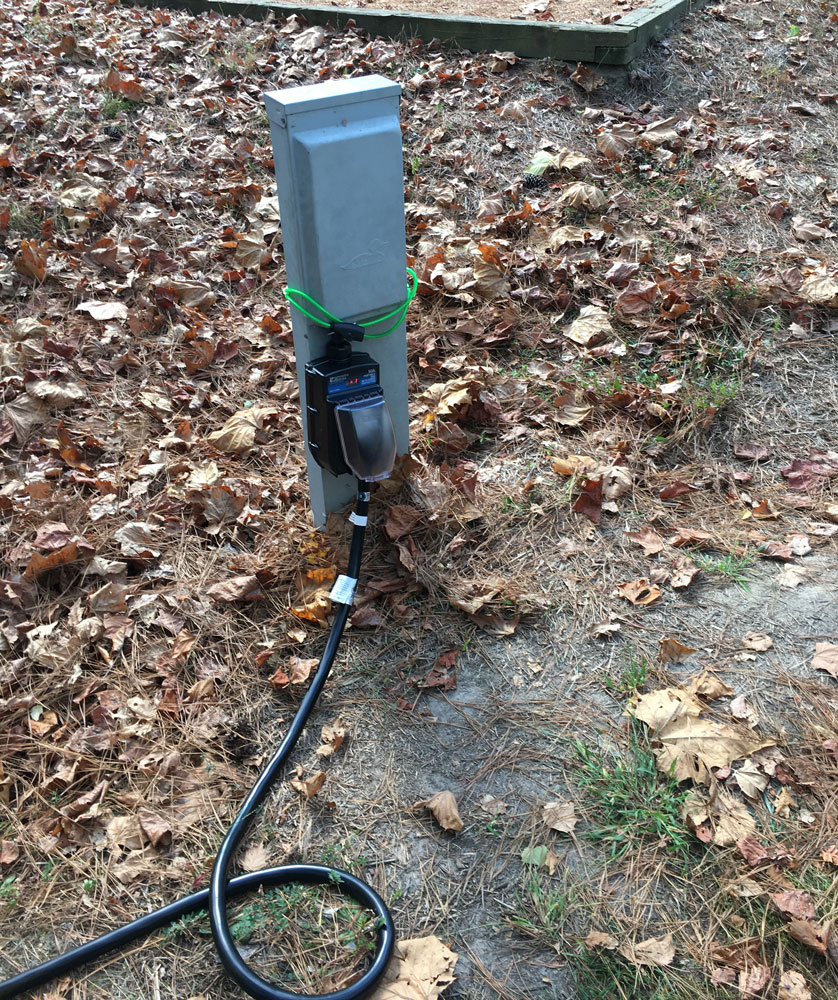
Sometimes you get to a site and the power you need isn’t available. You might be a 50 AMP camper and find that only 30 AMP power is available. Be prepared by bringing along adapters to ensure you can hook up to 15, 30 or 50 AMP power. That means if you have 50 AMP power, you’ll need at least two adapters. Some people prefer to have smaller, plug-size adapters. That’s what we use. Others prefer to have an adapter with a short electrical cord connected. Those are called dogbone adapters. Either will work. Just remember that when using a lower power level, you may not be able to run everything at the same time. Maybe turn off the AC before using the microwave.
The power pedestals at campgrounds can sometimes have issues. And, since you might encounter other power spikes, you’ll want to protect your sensitive RV electrical system with some kind of surge protector. Most RVs don’t have these built in. You can hard wire one into the RV but most people just use one that plugs in to the power pedestal. We use the Progressive Industries EMS-PT50X. The Progressive Industries unit is pretty robust. It provides a range of codes to let you know if there are power issues at the pedestal and helps to protect your camper’s electrical systems. One downside to this unit is that the clear plastic cover that goes over the power cord does not shut when our power cord in is place. It would be nice to ensure the plug stays dry should it happen to rain.
Another one worth considering, and one I’d like to test, is the Hughes Power Watchdog. One advantage it has over other power protection units is that it has a sacrificial component inside. If a power surge happens, you’ll be able to just replace that part rather than having to replace the whole unit. That could be a large potential cost savings.
Whichever unit you choose, be sure to find a way to secure it. You’ll want to have some kind of lock that prevents theft as these are pretty expensive.
When it is time to store the power cord, having a bin or cord strap can be helpful. We use these cord and hose bins from Stromberg Carlson.
Optional: if you plan to watch TV in your RV and will be staying at full-hookup RV campgrounds that offer cable TV, you’ll need to bring your own coaxial cable. The TV hookups are usually located in the same pedestal as the electrical hookups. You will likely want to get at least a 25 foot cable. Consider getting a 50 foot coaxial cable in case your TV hookup is a distance from the pedestal.
RV Essentials Camper and Camp Setup
When you get to your site, there are a few items you’ll need to set up camp properly.
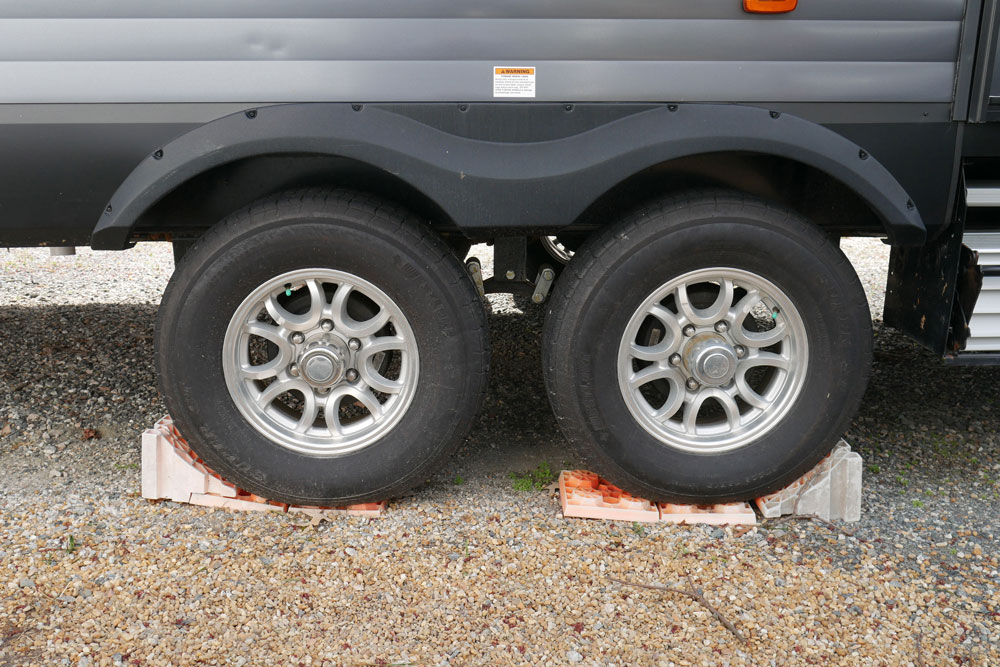
To keep your camper from rolling away when you unhitch, you’ll need a set of chocks. As not every site is level, you’ll also need a set of leveling blocks. We got a set of Lynx plastic leveling blocks and Lynx wheel chocks that interlock which is kind of a nice thing to have. You’ll want to be sure to get four chocks so you can put one in front and behind the wheels on each side of the camper. At ten years old, our chocks and blocks are no longer bright orange, but they still work well. There are substitutes you can consider for leveling such as wood planks but we prefer the open grid design of these blocks.
To help ensure you get the camper level, you need a level. It’s important to be level so that your refrigerator runs well, water drains properly and well, you’ll just be more comfortable. You can install a level on the front of the camper to check for side-to-side level and one on the side of the camper to check for front-to-back level. It helps if these are fairly large and visible. I have found that it helps to also bring along a carpenter’s level to confirm things are level at a different point on the camper, such as just inside the door.
You will also want to consider having something to put under the jack stand to help spread the weight and keep it from sinking into softer ground. It’s recommended to do the same under each of the stabilizers, too. We just use a stack of pressure treated lumber. However, I’m considering upgrading to a jack pad and stabilizer pads which I think would be a better option.
When you are unhitched, it can be helpful to think about securing the camper and your expensive trailer hitch. While nothing is perfect, we have a few locks we put in place. We use a set of matching hitch and coupler locks. We also add a coupler lock when the camper is unhitched. You can buy all three locks with a matched key.
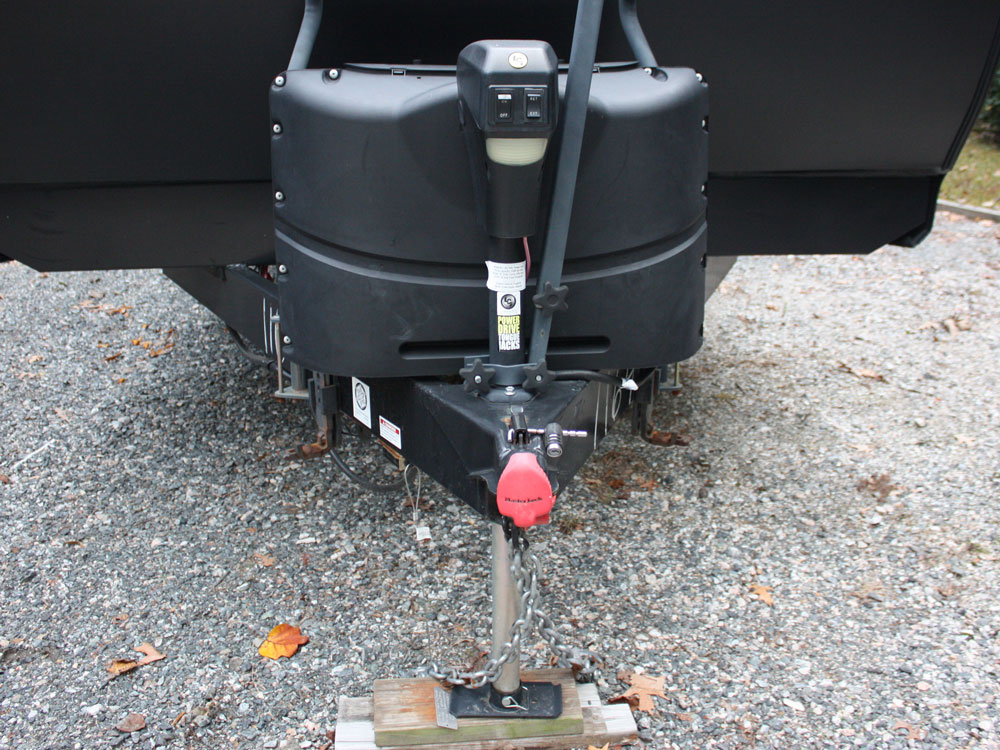
Optional: some people like to have a cordless drill with an adapter to bring down their stabilizers. I tried this approach. However, I prefer just to use the handle that came with the camper to lower the stabilizers. It’s up to you which approach works better for you.
Optional: some people like to have a set of walkie-talkies to use when backing into their site. Especially when you are new to camping, you need to have at least one spotter helping guide you into your site. People use hand signals, yelling or lots of other ways to communicate. We have tried walkie-talkies and find they can provide a better way for the spotter to guide the driver in to the site.
RV Essentials Maintenance
If you have a slide on your RV, you need to clear it before bringing it back in. That means blowing or sweeping away leaves so that they don’t interfere with the slide operating properly. You can get either a broom or a blower. If you get a blower, consider a battery-powered blower so that you don’t have to mess with a cord.
Things on an RV sometimes need repair. It moves down the road which can cause things to move or need adjustment. It’s a good idea to keep a basic tool kit on hand. At a minimum, the RV tool essentials are a set of screwdrivers and pliers. I like to keep a vice grip pliers. And, of course, consider a roll of duct tape. In addition to the basics, add a can of spray lubricant to keep stabilizers and locks performing smoothly. And, add a roll of Eternabond roof repair tape in case a branch damages your RV roof. I also add a tube of Dicor RV lap sealant, a utility knife to open the tube and a caulking gun.
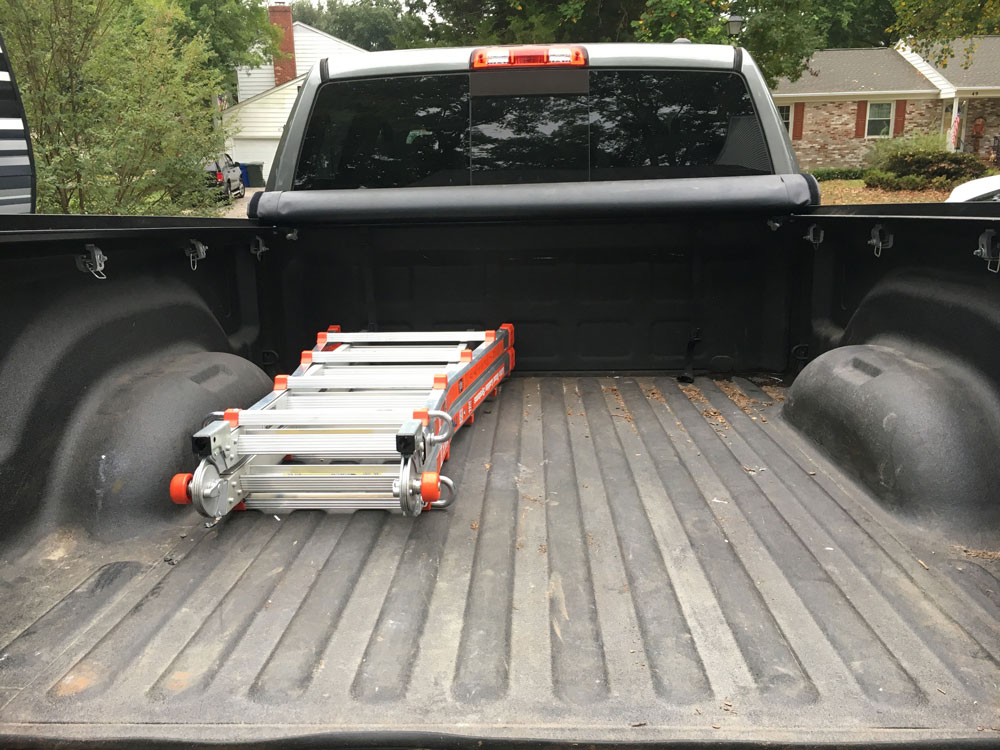
We learned early on to bring a ladder. Even if your RV has a built in ladder, there are times when you need to get to things that are higher, like your awning. While just about any kind of ladder would work, the flexibility that a Little Giant Ladder provides is worth the weight and space of bringing it along. A good ladder is an absolute RV Essential. Fortunately, we have room in the bed of the truck to easily fit the ladder.
RV Essentials Personal Use
Wrapping up our list of RV Essentials for Outside the Camper are a good set of flashlights. Whether you need to walk the dog, head to the bathhouse or just see something by the campfire, you need a good flashlight. We have tried all kinds of flashlights in our ten years of camping. One of our favorites has been the Life Gear LED Flashlights. They are lightweight while putting out a decent amount of light. The handle serves as a flasher when needed.
In addition to flashlights, you might appreciate a good gas camping lantern. Our Coleman Northstar lantern has served us well.
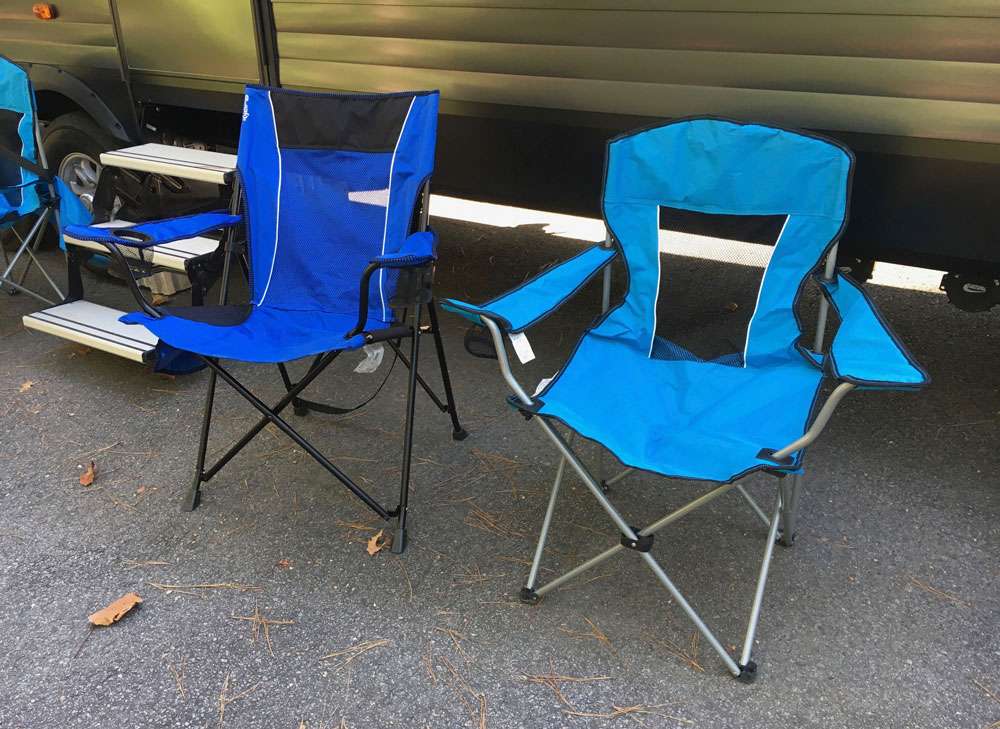
You can debate if it is essential, but a good folding camp char is certainly nice to have. We have used standard chair in a bag camping chairs and they work fine. You should have at least enough chairs for your group and consider one or two extras in case you have company. We tried bringing along a pair of zero gravity chairs. They are nice but heavy and take up a lot of storage. Our favorite folding camp chair is the Kijaro Portable Camping Chair.
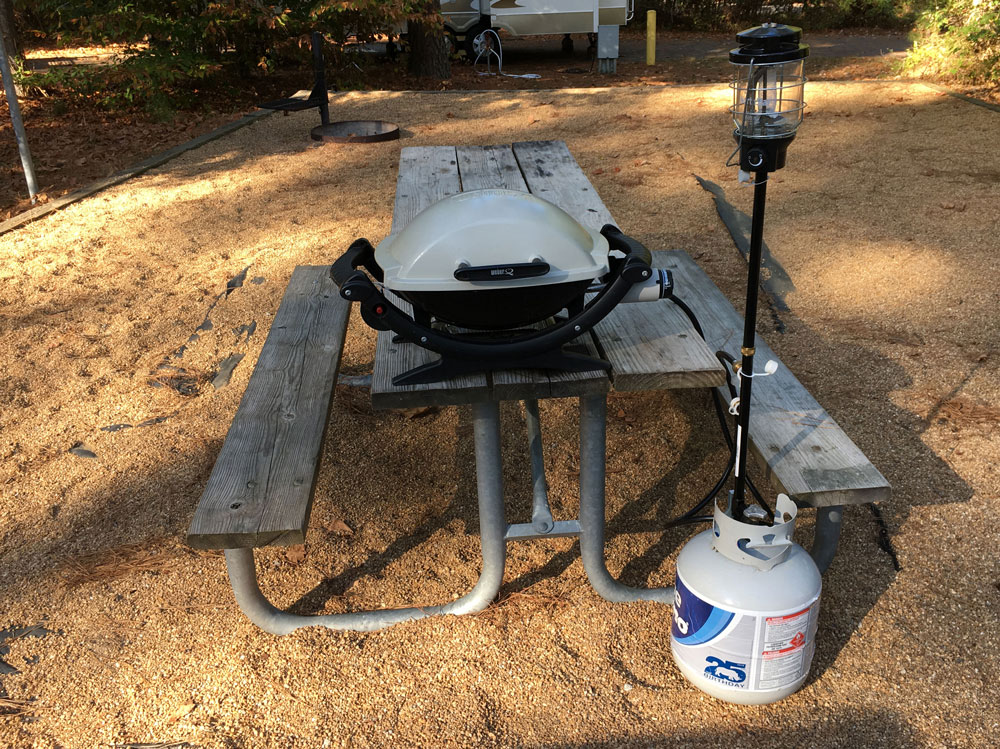
The rest of the list are optional items you might find helpful. We enjoy doing much of our camp cooking outside. You might like to have a good gas grill. You can see our basic grill setup at Easy Camp Grilling Setup. Along with the grill, consider a table or two for outside cooking and entertaining. You’ll also want a good set of grilling tools such as a spatula and tongs.
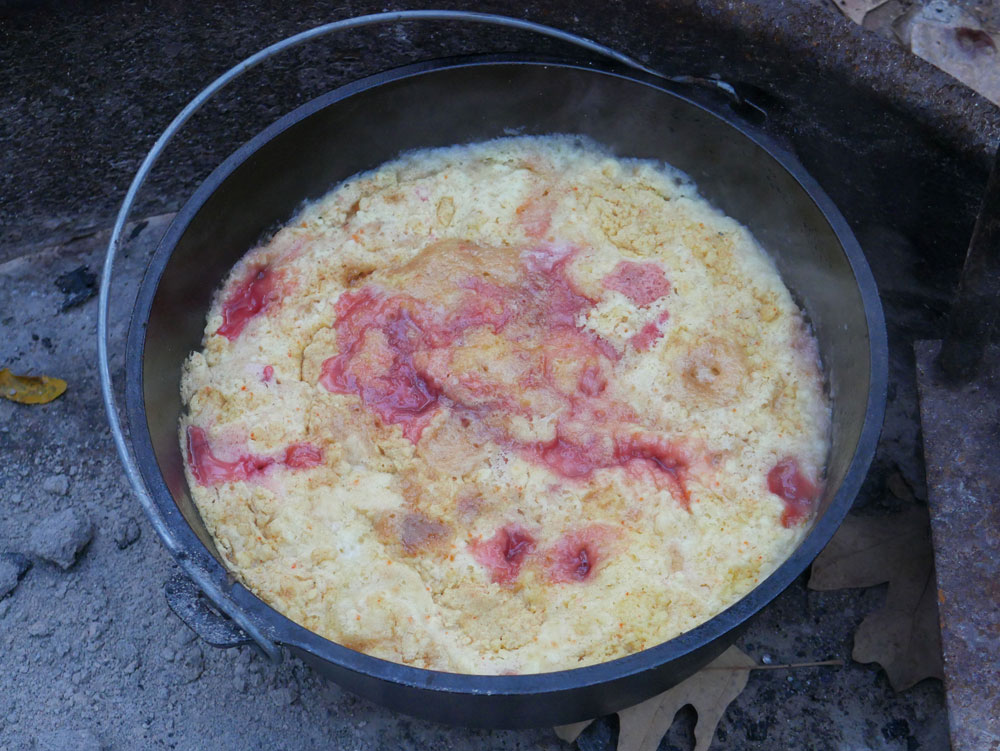
You might like to try your hand at Dutch oven cooking. I love making cobbler in a Dutch oven. You can find my recipe and instructions at Peach Cherry Dutch Oven Cobbler.
If you will be having fun in the water, consider bringing a clothes line or outside drying rack.
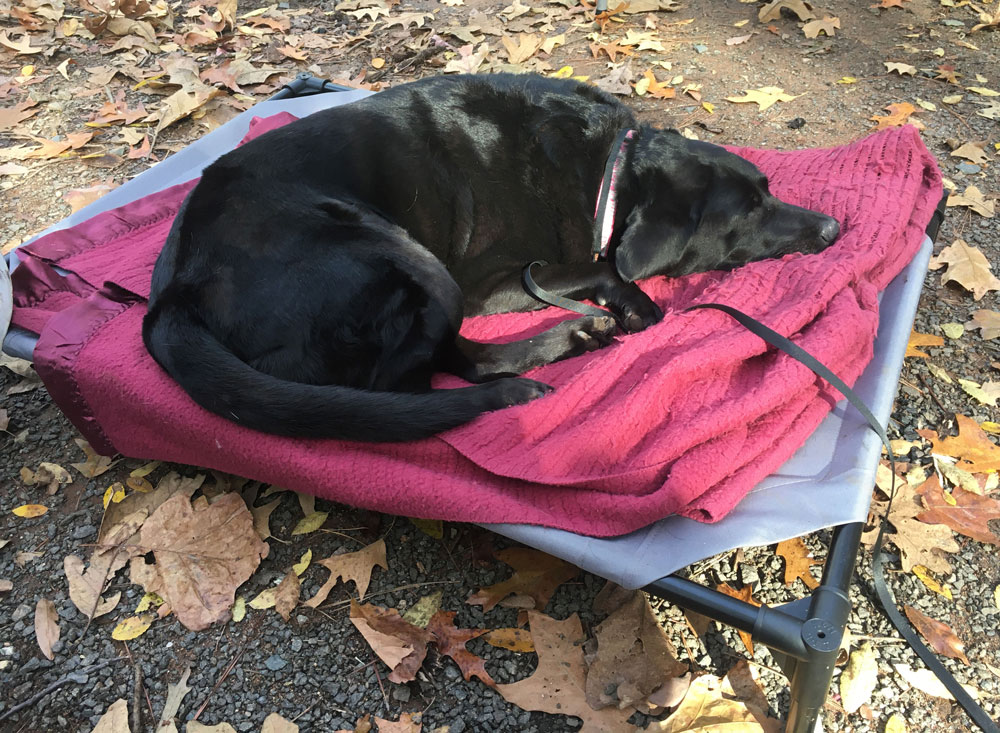
If you are bringing the family dog on your camping adventures, they will be more comfortable hanging out with you on a portable dog cot.
RV Essentials For Inside The Camper
There are a variety of items that are RV essentials for inside your camper. Again, think in terms of what you might need if you were setting up a vacation home. Only that vacation home can travel to the beach, the mountains or wherever you choose to go. There are a few things that are unique to RV life that we’ll be sure to include.
RV Essentials Living Room
Most RVs and campers don’t have a separate living room like a house. But, there is usually a main living area where you will hang out, play games or watch TV. This area may have one or more couches or recliners. There isn’t really anything essential that you need for this area. However, there are some thing that might make your RV camping experience more fun. Here are a few optional things to think about for the main living space.
Consider making the camper feel a bit more cozy. Blankets and throw pillows might be appreciated. Most RVs have vinyl flooring that can feel a bit cold. Consider adding some throw rugs. If your RV has heating vents in the floor, the throw rugs will also serve to block things from falling into the vents. Just remember to uncover the vents when the weather gets cooler.
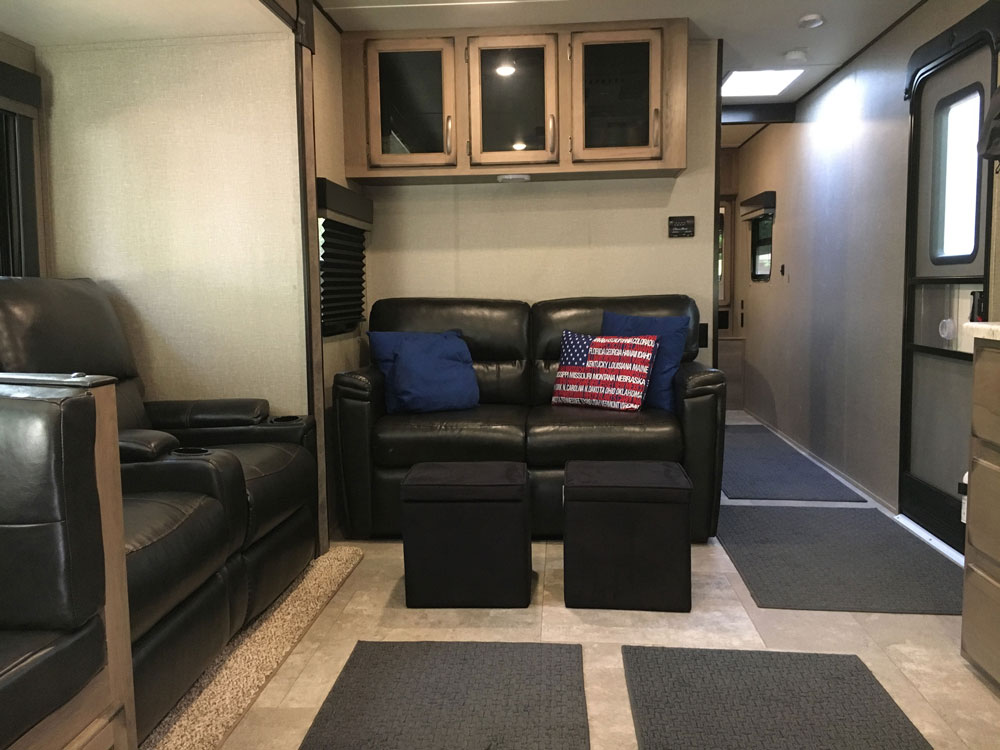
If space allows, consider adding some ottomans. As a bonus, you can get ottomans that provide extra storage for blankets or other items.
If you are traveling with a canine companion, consider adding a grate to the screen door to help ensure they don’t bound out the door at the sign of the first squirrel. Note, however, that the latches on camper screen doors aren’t usually very secure so you may want to upgrade that if you plan to keep the door open.
Think about what you might want to do on a rainy day. We enjoy playing games in the camper. We mostly stick with small card games that are the card game version of classic board games like Monopoly Deal, Clue Suspect, Life Adventures or Scrabble Slam. You can usually play a round in about 15 minutes. They don’t take up much space in the camper so you can bring along several.
Most campers have a DVD player. Unfortunately, many don’t have Blu-ray so be sure to bring the right kind of disc.
RV Essentials Bath Room
In your RV bathroom, there are a few unique things that you need to have on your RV essentials shopping lists. First, make sure you get RV or holding tank friendly toilet paper. This type of toilet paper breaks down more easily, helping to ensure that your camper’s plumbing system works properly. That doesn’t mean it has to be expensive toilet paper or purchased in a special store. We use Kirkland toilet paper from Costco. It is marked “Septic Safe” which is what you need to look for.
One other special RV bathroom essential item is some form of holding tank treatment. There are many brands and several different types of holding tank treatment. Two things it needs to do is to help break things down and reduce odor. You may want to look for a product that is formaldehyde free, as this chemical can cause issues in the septic system at the RV park. Rather than recommend a specific product, I’ll point you to a helpful article that Trailer Life Magazine recently published: Royal Flush: Guide to Holding-Tank Treatments.
You need to keep the bathroom clean. Some of the products you use at home aren’t recommended for use in the RV. Look for an environmentally friendly cleaning product that you can use on all surfaces. We use Simple Green. We dilute it to the appropriate strength and keep it in a spray bottle.
Your camper likely has a shower. Just like at home, you will need bath towels, wash cloths and hand towels. For our camper towels, we upgraded our towels at home and moved the older ones to the camper. If you plan to head to a lake or beach, you may also want a few large beach towels.
Once those towels get wet, you need a way to let them dry. When possible, you can use a drying rack or temporary clothesline outside. However, that won’t work on a rainy day. And, some RV campgrounds don’t allow you to use outside drying racks. You’ll want to think about a way to hang your towels. In our first camper, we bought over the door hooks and that worked great. We had a set of two for each side of the door. If that isn’t an option, consider command strip hooks. We also keep a drying rack for use inside the camper.
You’ll also need a way to hold a few basic items on the bathroom counter such as toothbrushes. You will want some kind of soap for washing hands, like a bottle of liquid hand soap.
A small trash can in the bathroom would be nice. However, since RV bathrooms tend to be small, you might just consider hanging a small plastic bag, like the kind you get at the grocery store, from the vanity door handle.
One last thing to look for in your RV bathroom is a toilet paper holder. Believe it or not, they don’t all come with one installed. As your options will vary by model, consider how you’ll add one if needed.
RV Essentials Kitchen
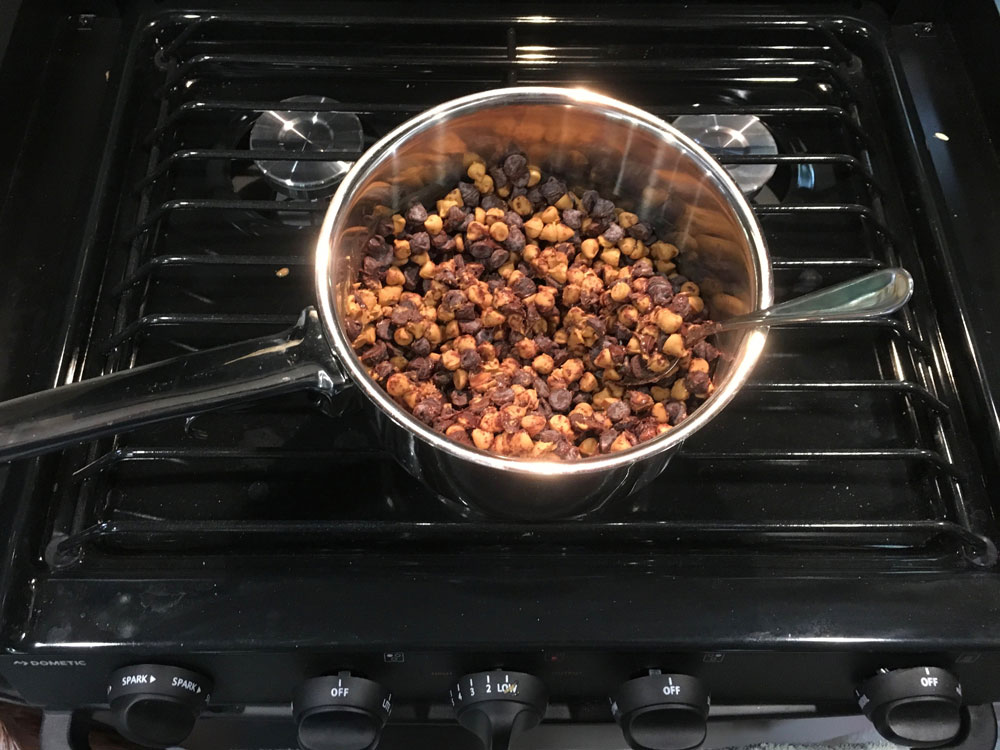
What you need for the kitchen depends on your approach to cooking and eating. We enjoy a home cooked meal and use both the oven and stove in our RV. That means having all of the utensils along to prepare and serve a meal. And all of the items needed to clean up afterwards.
We have a set of Cuisinart pots and pans that are great for the camper. The handles remove and the pots stack for easy storage. I tried to find another set but they were unfortunately no longer available. Consider finding something similar if you can.

We use plastic plates and glasses. I have heard that others use Corelle Ware dishes and report that they travel well. We got a decent set of silverware and a nice OXO silverware organizer to store them.
The key to setting up your RV kitchen, and your RV in general, is finding ways to save space. We love having collapsible bowls and a collapsible colander. We have a set of measuring spoons and measuring cups, stackable of course.
For food prep, we also have a cutting board and a decent set of knives. While you could just use a spoon to mix, for some recipes we find that a silicone spatula makes things easier. We like these Gloue silicone spatulas and use them just about every day. They are BPA free and heat resistant up to 450 degrees.
We bring along some baking sheets, handy for baking cookies, We use a rectangular griddle that goes across two of the burners for making pancakes. Don’t forget to bring a spatula and some pancake syrup.
While it is optional, we recommend lining your cupboard shelves with non-slip shelf liner. It helps keep things from shifting as you roll down the road.
I like to enjoy coffee in the morning. I have a small drip coffee maker. When we are off the grid, I have a selection of other coffee pots including a percolator and a French press. Try to see what works for you.
Again, maybe more of an option, but we have a portable blender to make smoothies. Check out our berry smoothie recipe and blender review.
To do the dishes, we got a dish drainer. It works well but doesn’t fit in the sink. While we just put a kitchen towel under it, you can now find a special pad for under the drainer. You’ll need a few kitchen towels and dish soap. We also like to keep liquid hand soap and a roll of paper towels by the kitchen sink.
You need somewhere to put your trash. If you recycle, it helps to have a collapsible bin where you can keep your recyclables, too. Don’t forget to bring some trash bags.
RV Essentials Bedroom
Just like for your bedroom at home, you’ll need all the essential bedding items; sheets, blankets and pillows. One thing that might be a challenge is that RV beds are often not a standard size. A “Camper Queen” is shorter than a regular Queen bed. Fortunately, our new camper has a full size Queen bed. You should be able to find sheets that are the right size. If not, one thing that has worked for us is to buy 2 flat sheets instead of a flat and a fitted sheet. If needed, you can buy straps that help keep the sheets on the mattress.
One thing we highly recommend is a mattress topper. Unfortunately, most camper beds are not very comfortable. We opted for a Novaform three inch memory foam mattress topper which helped significantly. A 3-4 inch memory foam topper makes for an amazing upgrade and helps you get a good night’s sleep. I’d call that an RV essential item.
Other RV Essentials
There are a few more RV essentials you’ll need to finish outfitting your new camper. Where you keep them will depend on your camper and your choice.
You need a way to keep the floor clean. While you could get a small vacuum, we just use a collapsible broom. Ours folds down to a very compact size and has a dustpan with it. Note: you may want to come up with a system for people to take their shoes off outside the camper or just inside the door. It will help avoid a lot of the dirt that could otherwise get tracked in.
We find that reaching things in some of the high cabinets of an RV can be a challenge. A simple solution is to have a small step stool. We use one that we already had from when our children were young and needed a bit more height to reach the sink.
You’ll soon discover that laundry needs to be done regardless of whether you are in a camper or a house. Since most RVs don’t have a washer & dryer, you will be using a laundromat. Folding laundry baskets are a great way to save space. And, you need some place to put dirty clothes so get a mesh laundry bag.
Accidents happen. You need to be prepared by having a first aid kit in your RV. We wrote up a guide for putting together your own RV First Aid Kit.
If you plan to camp in cooler weather, a ceramic heater is a great way to stay warm without having to run the RV furnace.
You will likely have electronics along with you when in the RV. If so, an outlet strip with surge protection is an RV essential.
RV Essentials Products Mentioned
The products mentioned in this post are available at Amazon and other retailers. Note: we’ve included affiliate links throughout the post. If you choose to purchase by using one of the links there is no additional cost to you, but we earn a commission that helps enable us to continue sharing helpful information.
Copyright 2020 Travel Trail Sail. All Rights Reserved.

