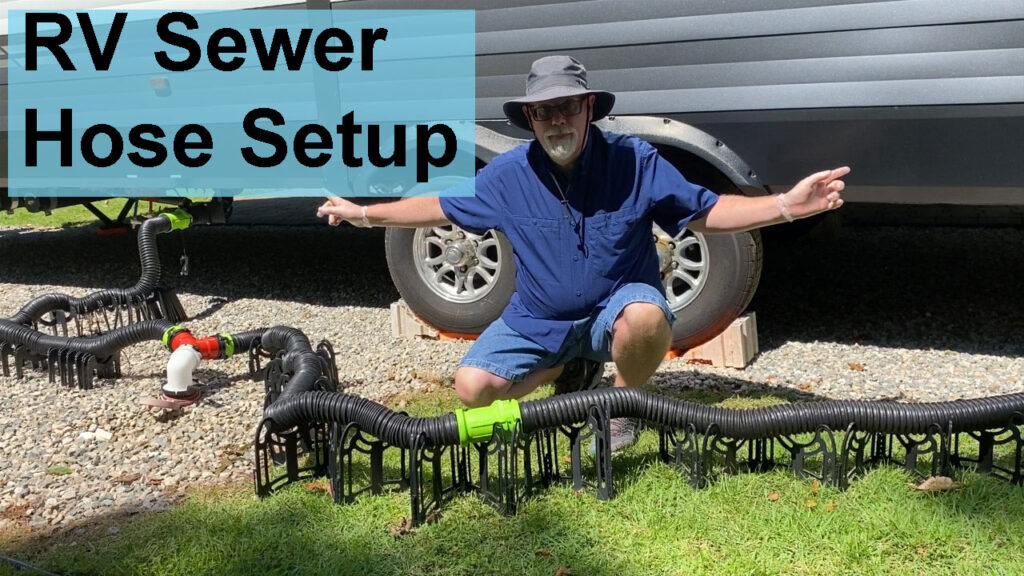
RV Sewer Hose Setup For Two Connections
You just bought a new camper and it is one of those great layouts with a rear bath or rear kitchen. And then you discover that there are separate gray tanks for the bathroom and kitchen and each tank has a separate dump connection. You’ve just gone from needing one RV sewer hose to needing two or three and a few other components, too.
You have two gray tanks and two sewer connections. Curious about how to set up your RV sewer hoses? I’ll walk you through the RV sewer hose setup for two connections that I use and how you can do it, too.
Note that I’ve added Amazon links for your convenience in case you are interesting in upgrading your RV sewer connection components. These are affiliate links. If you choose to purchase from them there is no additional cost to you, but we earn a commission that helps enable us to continue sharing helpful information.
RV Sewer Hose Setup Video
I’ll cover all of the details for setting up your camper sewer hose in this post. If you prefer, you can watch our RV Sewer Hose Setup YouTube video.
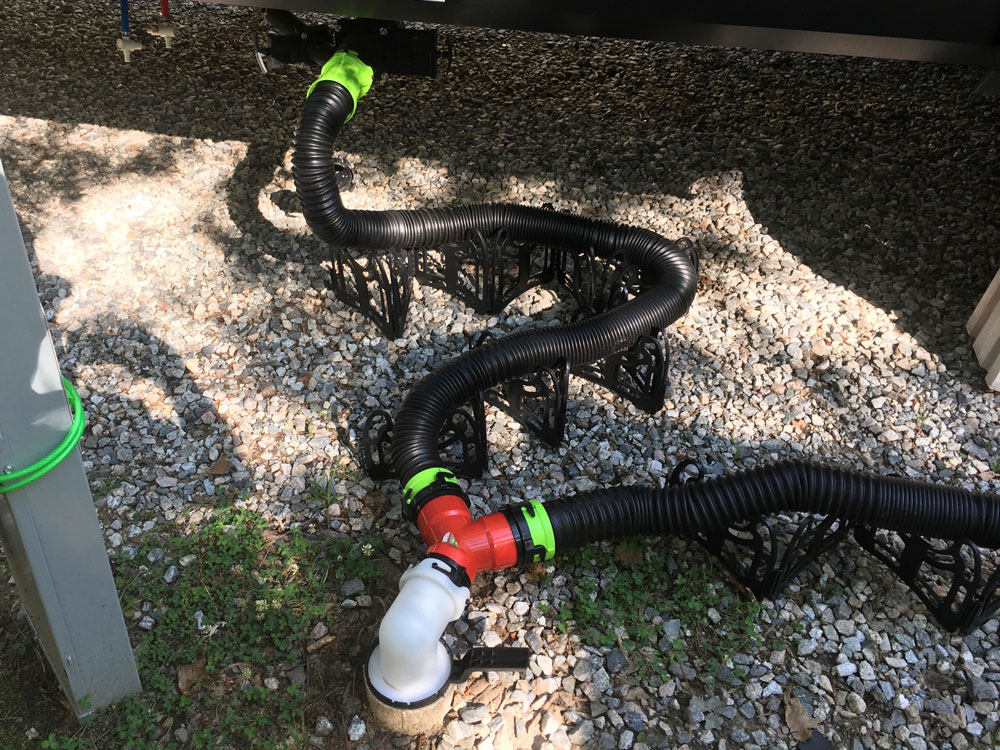
RV Sewer Hose Setup For Two Connections Overview
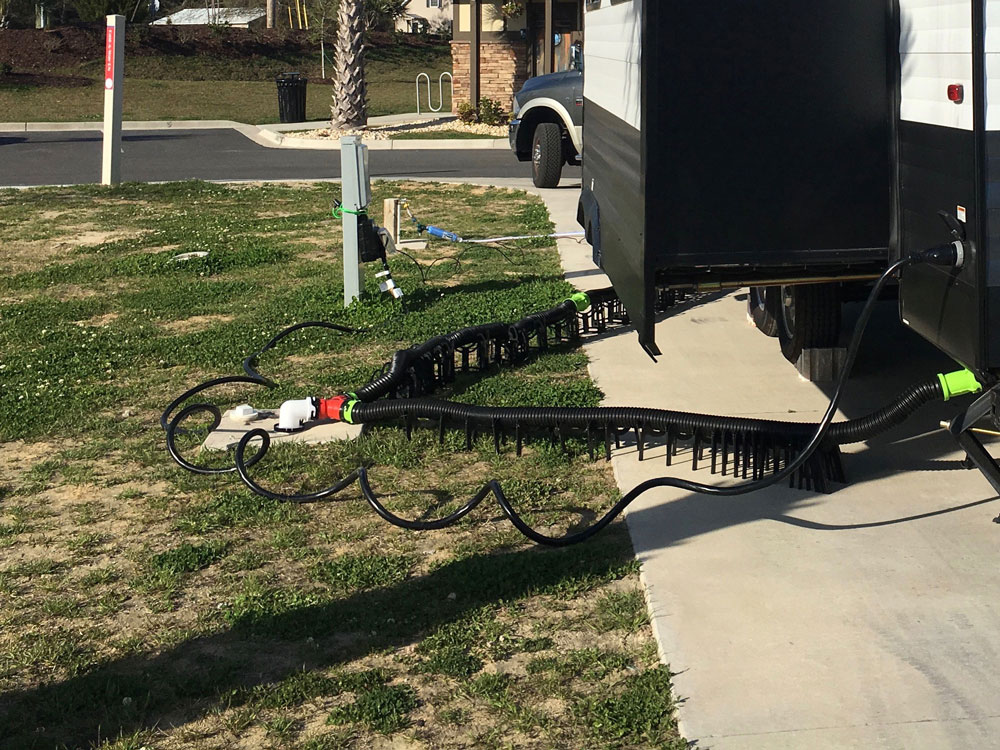
The first thing to know is that every campground is different. The site’s sewer connection might be toward the front of your camper in one site but toward the rear in another. You’ll want a flexible setup that allows you to get the right connection regardless of how your campground site is configured.
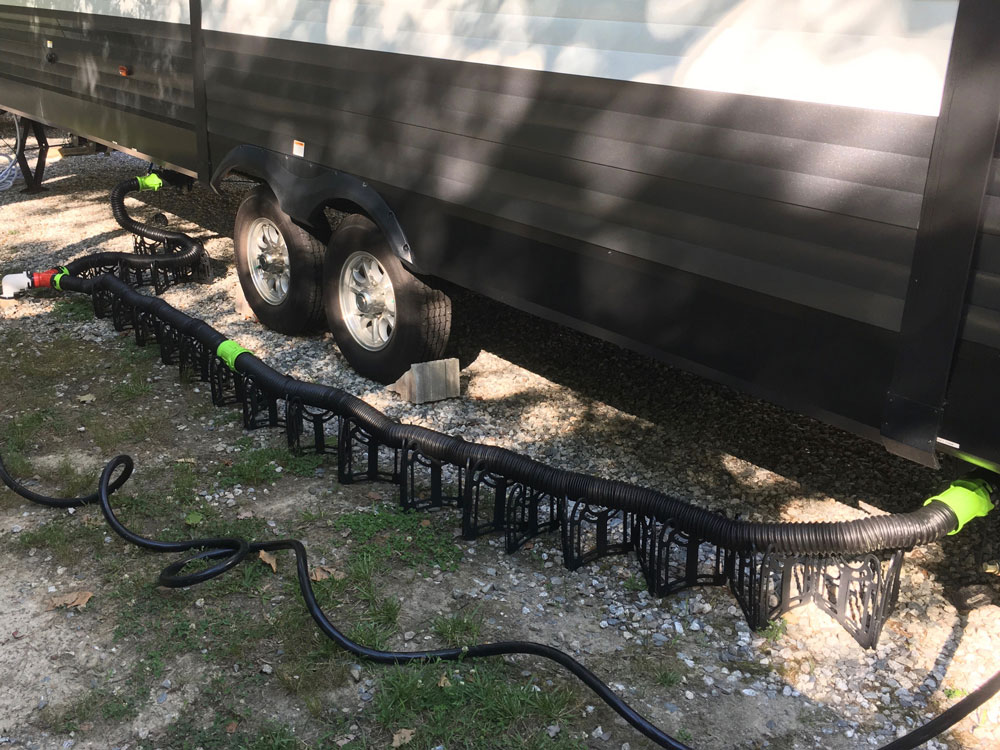
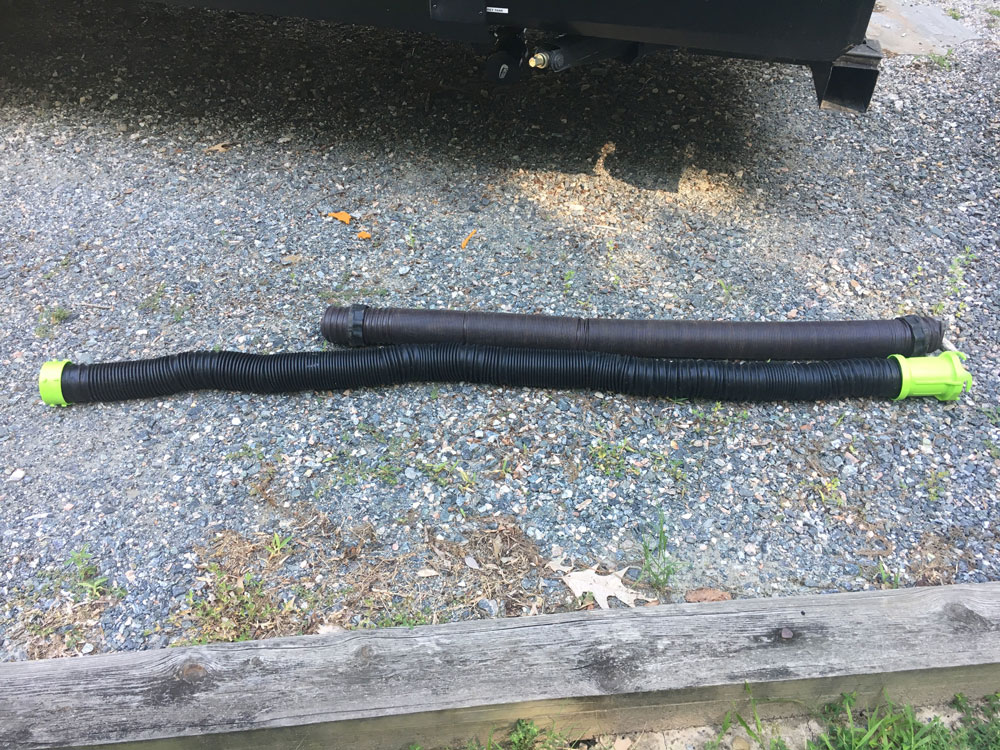
Many of the campers that have two sewer hose connections (dual hookup) are travel trailers or 5th wheels that are longer than 30 feet. It is likely that you’ll need to be able to have a sewer hose that reaches at least twenty feet. I opted to go with three hoses that can be connected. That means I can have 10, 20, or even 30 feet if needed.
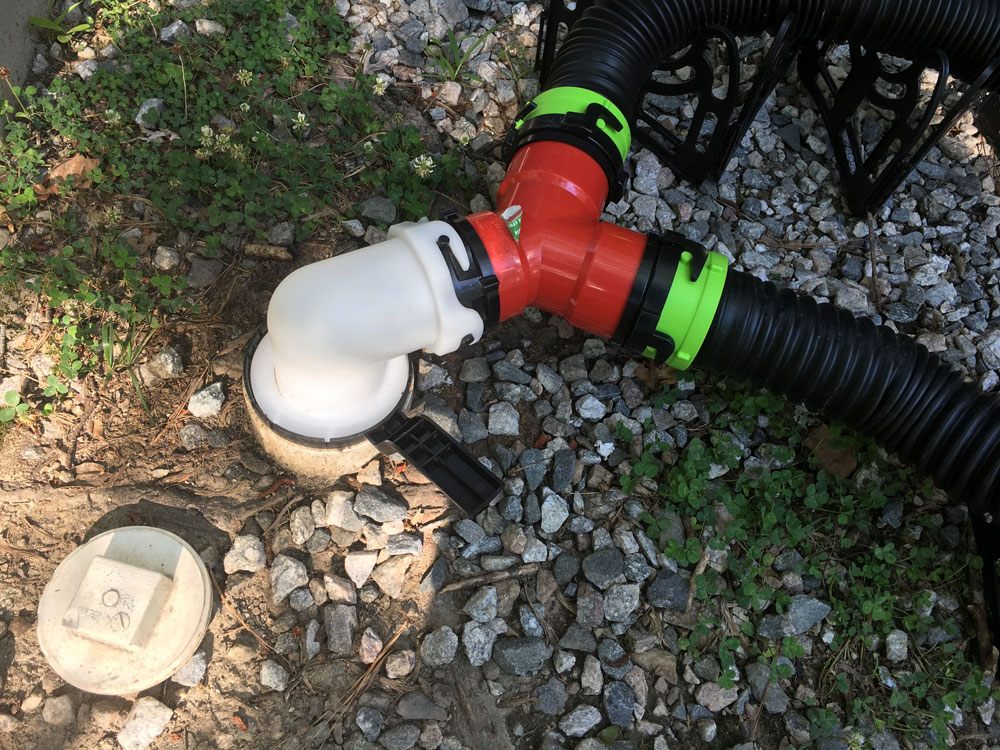
I went with the Thetford Titan 20 ft Multi-Length Premium Sewer Kit. It comes with two 10 foot hoses and a sewer adapter to connect the hoses to the campground sewer hookup. The adapter has a handle which makes inserting the adapter into the sewer drain easier. I also added the Thetford Titan 10 Foot Sewer Hose Extension.
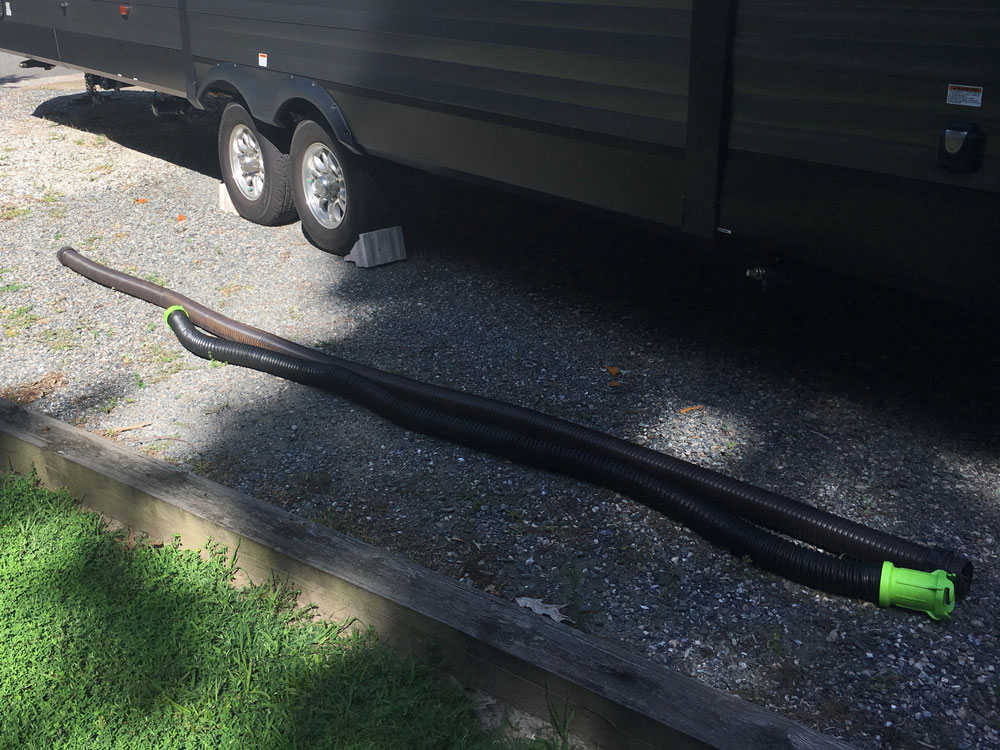
To join the hoses at the sewer drain, you’ll need a wye fitting (y fitting). You connect each of the hoses to the wye and then connect the wye to the sewer adapter. I chose a Valterra Rotating Wye Adapter. While most wye adapters were fixed, the Valterra enables the hoses to rotate which can make getting things set up a bit easier.
You need to support the hoses. With the weight of black and gray water filling the hoses and the complexity of a multi-hose setup, there is too much chance for an unwanted RV movie moment.
Keep in mind that there is nothing stopping fluid from flowing from one hose into another. With two heavy hoses pulling down on the wye fitting, even a fairly good connection could come loose. You’ll want something to help fight gravity.
Since you have several RV sewer hoses connected, you’ll need to consider adding additional hose supports. I went with the Camco Sidewinder RV 10 ft Sewer Support. To support all of the hoses, I deploy three of these supports.
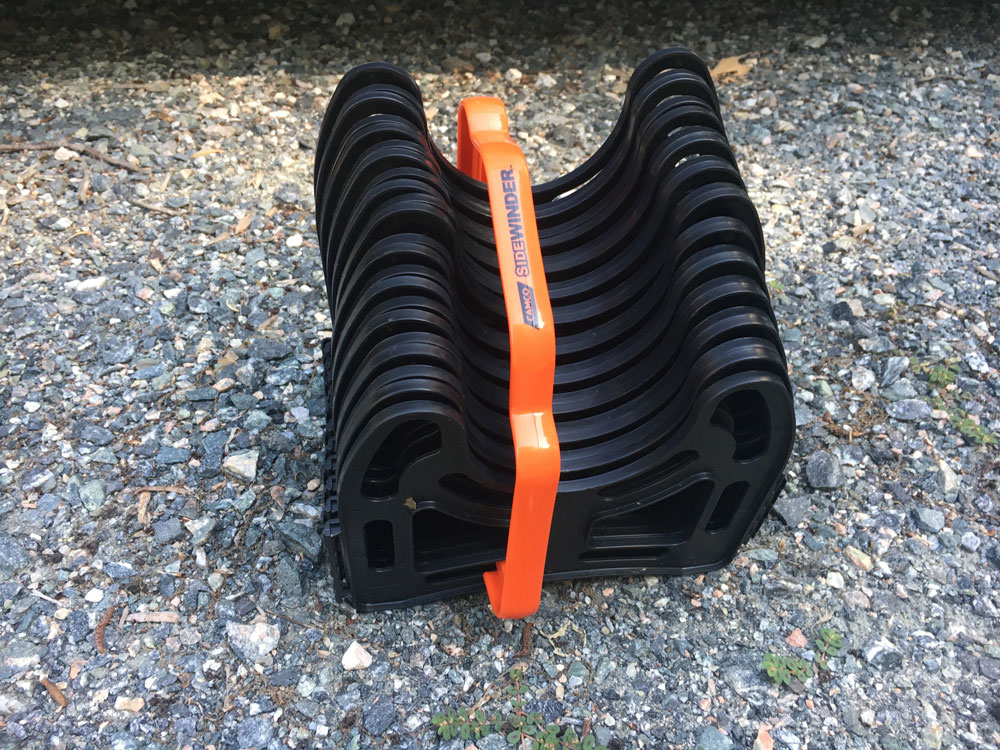
These supports are unfolded and hold the RV sewer hoses at an angle to help fluids flow toward the sewer connection. The first time I used these supports, one of them broke leaving me with two equal lengths of support. In a way, that is a good thing. It means I can use the support more flexibly to get the right height over a long length of hose. What you really want is for an even decline. Consider getting both 10 and 20 foot versions of the support if you can. Or, choose from one of the other support systems like the Lippert Flow Down system with its series of separate support legs.
Thetford Titan RV Sewer Hose Review
Thetford Titan RV sewer hoses are a premium product. They are made from a thick plastic that seems as though it will hold up well. I have had the chance to use them several times and they have performed well so far.
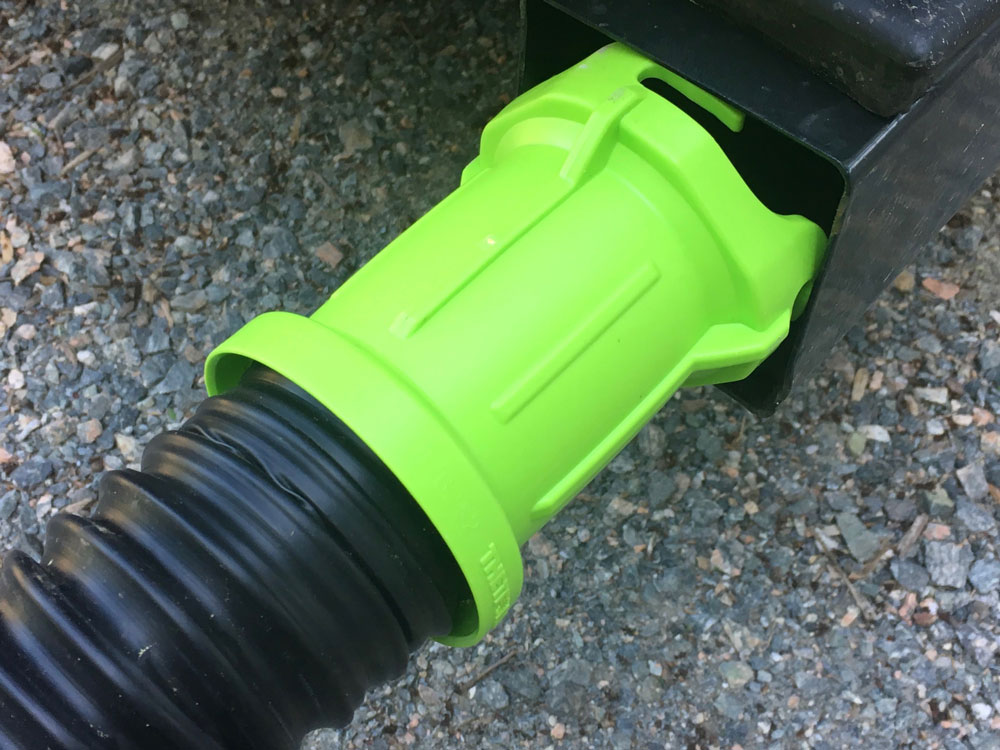
The Thetford Titan hoses have a wide handle that makes attaching them to the sewer connections on your camper easier. Compared to the RhinoFLEX hose I have been using, the Thetford Titan handle is significantly better.
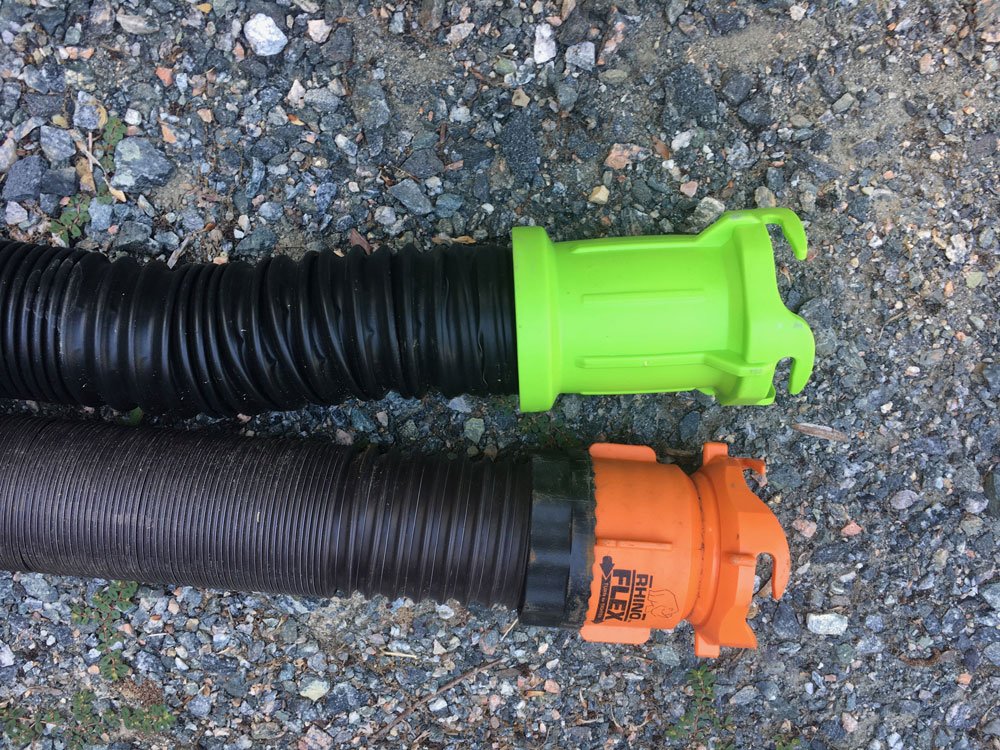
However, the thick plastic makes their accordion feature perform less well. The 15 foot RhinoFLEX hose can collapse into a fairly small length while the Thetford Titan stays relatively long.
Every campsite is different. There are times when the connection span is short and the 10 foot Thetford Titan hoses are just too long. To help make my setup complete, I plan to add a 5 foot hose.
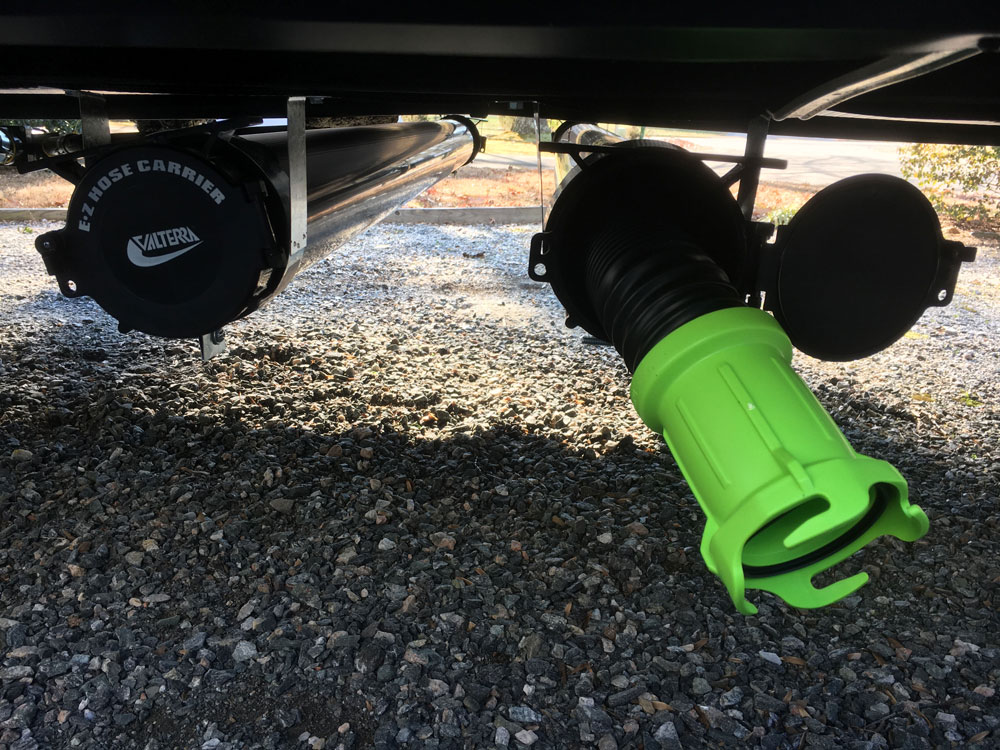
The Thetford Titan RV sewer hoses are made so that the fittings cannot be removed. With RhinoFLEX, you could remove the fittings. While that might not seem like a big deal, having the ability to remove the fittings enables the hoses to fit in smaller compartments. RV manufacturers expect that you’ll store your RV sewer hoses in the bumper. The Thetford Titan has a large handle that is a tight fit in the bumper of our Grand Design Transcend camper. Note that newer RhinoFLEX hoses no longer have the ability to remove the fittings.
You’ll likely need to find a way to bring along additional hoses. For one idea on how to do that, check out my project where I described how to add two Valterra RV sewer hose carriers under a camper.
Additional Gear for RV Sewer Hoses
Once you solve for bringing the hoses along, you also need to find a way to store the fittings. I put the wye adapter and sewer fitting in a 5 gallon bucket. As these items have the potential to get messy, I line the bucket with a clear trash can liner. This system allows me to bring along all of the sewer hose fittings I might need while keeping them away from other items in storage.
While handling the hoses, you will want to wear disposable gloves. I keep a box handy in the street side storage compartment. Since few campgrounds have a place to wash your hands after using the dump station, it may be a good idea to put hand sanitizer next to the box of gloves.
One piece of gear I don’t yet have is a clear plastic elbow. Some experts recommend connecting the clear elbow to your camper’s sewer connection first and then connecting the sewer hose. The idea is that you’ll be able to see when clear water is running when you are flushing out a tank. The sewer adapter that came with the Thetford Titan kit is white plastic. It lets you see the general color of the fluid without seeing all of the detail. So far, this has worked well enough for me.
Most campgrounds that I have stayed in have had a threaded sewer connection. I have heard that some don’t. In those situations, you may want to add a Sewer Donut. That is a hose seal that you place in the sewer connection to help secure an RV sewer hose without threads. Some campgrounds may require one but I have not yet encountered the need for one. The closest thing I have encountered was a state park that had charcoal cans for gray water dumping. You could dump your gray water into what looked like a metal trash can sunk into the ground. This generally worked well but there was no way to secure the sewer hose.
A Few Dumping Tips
Once you are all set with your Two Connection RV Sewer Setup, you might have questions about the best ways to actually use them. Here are a few tips I’ve learned along the way.
Keep your valves closed. When it comes time to dump, you want lots of water flowing to help bring everything else along with it. In my Grand Design Transcend, there is one black tank that holds 39 gallons. It has two gray tanks, one for the kitchen and one for the bathroom, that hold up to 78 gallons combined.
While you could go a long time without emptying the black tank, you’ll probably want to dump it every 3-4 days. When you do, fill as much water into the tank as possible. Empty the black tank first, then the bathroom gray tank, and then the kitchen gray tank. Emptying the gray tanks after the black helps wash out the hoses and keep things a bit fresher.
If you are staying at a water & electric site rather than a full hookup site, consider adding water to the tanks before leaving your campsite. Then you will have the water needed for an effective flush. Once you dump at the dump station, you may want to add a holding tank treatment to the black tank. To do that, you need 2-3 gallons of water. I don’t like to travel with my fresh water tank full but it can be helpful to have a bit of water available to use after dumping.
Summary
I hope you found this RV sewer hose for two connections setup guide to be helpful. A good sewer hose setup is important. To see the rest of the things you’ll need for RV camping, check out our post RV Essentials for Outfitting A Camper.
If you’ll be staying at a campground that doesn’t have full hookups, you may need a blue tote tank. These are used to empty your gray water tanks, extended the time you can stay in place before needing to move your camper to the dump station to empty the gray and black tanks. If you don’t yet know about those, see our post Blue RV Tote Tank Parade.
If you have some tips or tricks that help you make the unpleasant job of dealing with RV sewer hoses a little easier, I would love to hear them. Please leave a comment.
RV Sewer Hose Connection Components List
Here are the components we used for this approach to a safe and easy drinking water connection setup for our camper. These are Amazon affiliate links. If you choose to purchase from them there is no additional cost to you, but we earn a commission that helps enable us to continue sharing helpful information.
Thetford Titan 20 ft Multi-Length Premium Sewer Kit
Camco Sidewinder RV 10 ft Sewer Support
Copyright 2019 Travel Trail Sail. All Rights Reserved.