Upgrade Arvika Bike Rack
We upgraded our Arvika Travel Trailer bike rack with new arms, clamps, and wheel wedges. We also did some maintenance to keep our rack in great shape.
Arvika Bike Rack
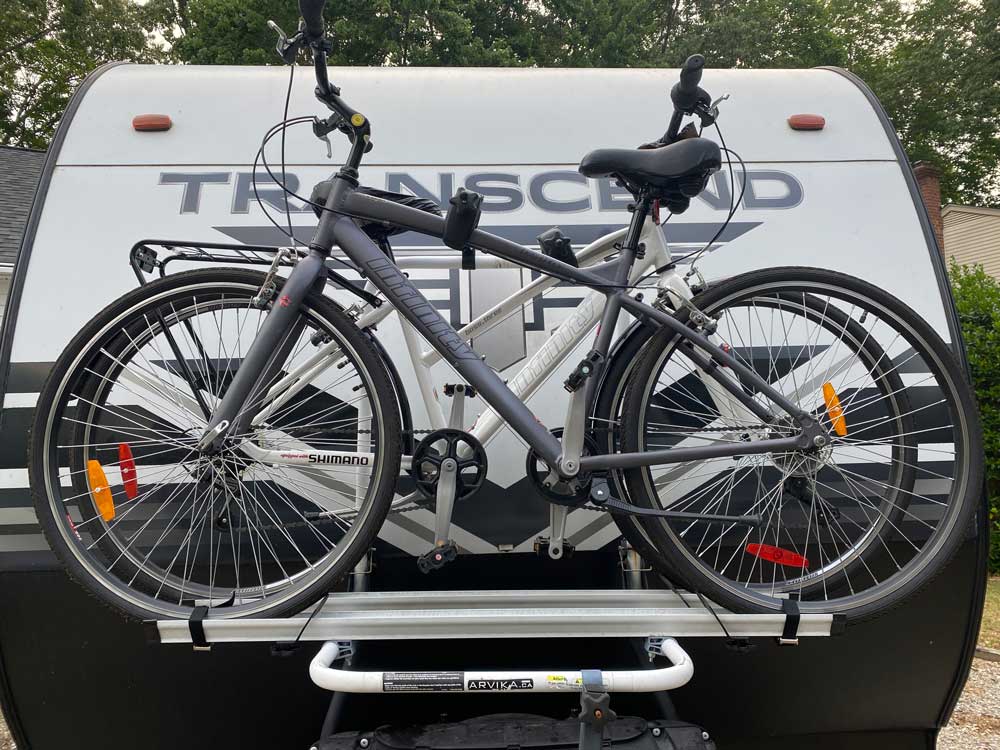
We love having our bikes when we go camping. Most of the places we stay have bike trails and it is a fun way to explore. Adding an Arvika bike rack was one of the first things we added to our first travel trailer. When we traded campers, we moved the bike rack to the new one.
Our rack is now over eleven years old. It’s still in pretty good shape. But, a few of the bolts were getting a bit rusty. And the base had a few areas that needed some touch up paint.
When Arvika reached out to offer us the chance to try the new clamp style, I was happy to say yes. They sent new arms & clamps along with some other replacement parts, too. Thank you, Arvika, for providing the new bike rack bars and parts.
Upgrade Arvika Bike Rack Video
We cover the upgrades in our Upgrade Arvika Bike Rack YouTube video.
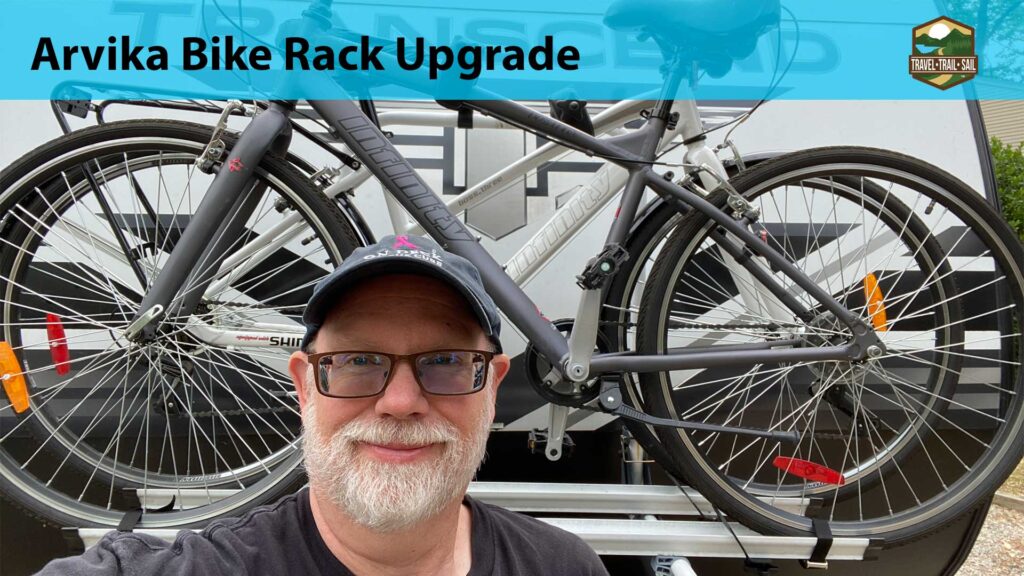
Steps to Our Arvika Upgrade
The steps for our upgrade were to:
- Remove and replace the bars and clamps
- Replace several rusted bolts
- Add wheel wedges
- Replace end caps
- Paint the base
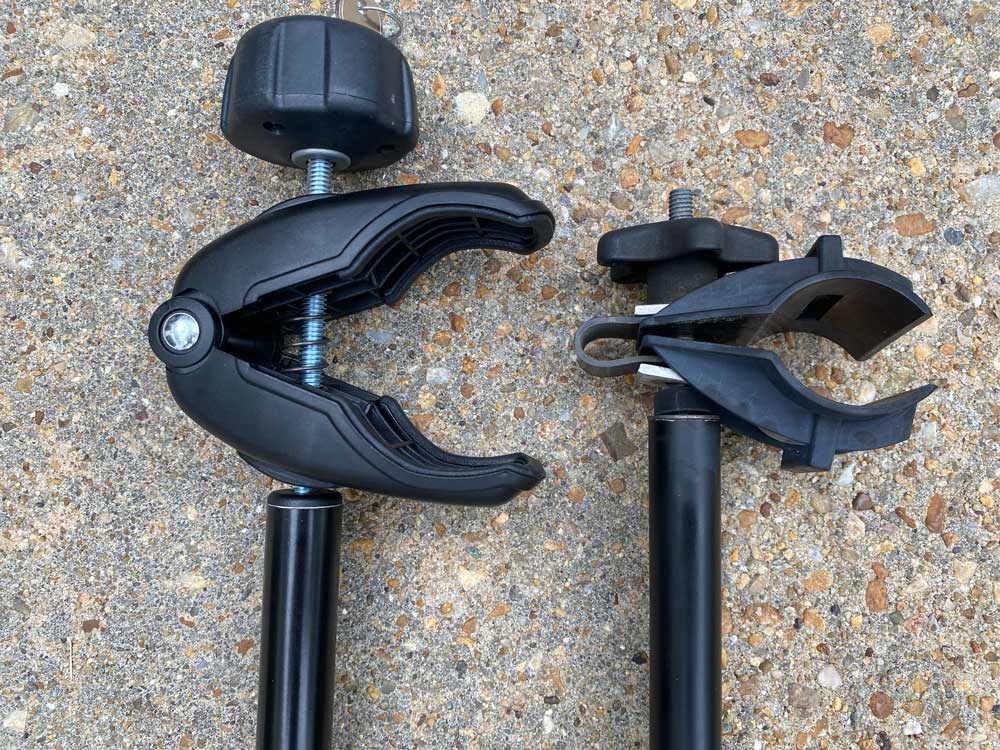
The new Arvika clamps seem larger and more substantial. The older ones were plastic reinforced by a metal strap. The new clamps are all plastic and have a spring mechanism. The new clamp is shown with a locking handle which we have for the old clamp but isn’t pictured here.
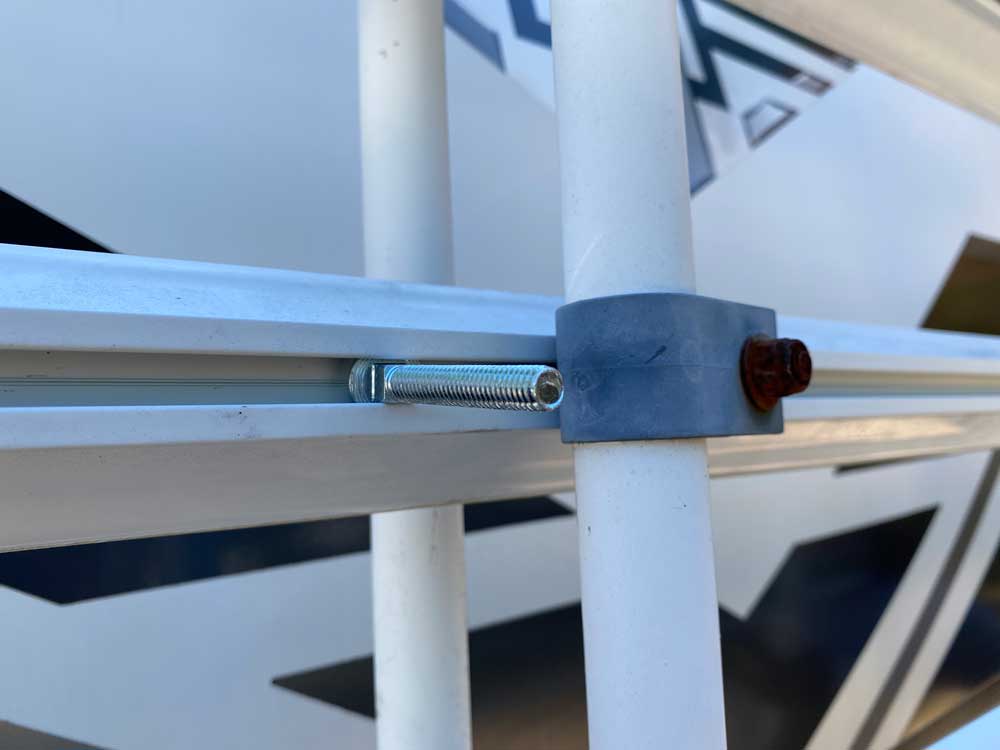
Bars are held on to the rack with a u-shaped plastic piece. It is the same on the new and old bars. One difference we noticed, though, is that the bars themselves seem to have a different assembly. With the old bars, you could tighten the bar to hold it in place and separately tighten the clamp. The new bars have one long bolt that slides through a tube. There doesn’t seem to be a way to tighten the bar separately from tightening the clamp. There are times when we travel without our bikes. We’ll have to see how the new ones function as we travel.
Some of the bolts that fasten the rack to the support bars had become a bit rusty. With the parts that Arvika provided, we were able to replace them with new bolts.
We added two additional wheel wedges. These mount to the bike rack trays and help the bike from moving horizontally. The rack also comes with buckle straps that help hold the bike to the rack.
We changed the old tray end caps for new ones. These are snugly fit so they can be a bit challenging to remove. You might find a rubber mallet helpful in replacing the end caps.
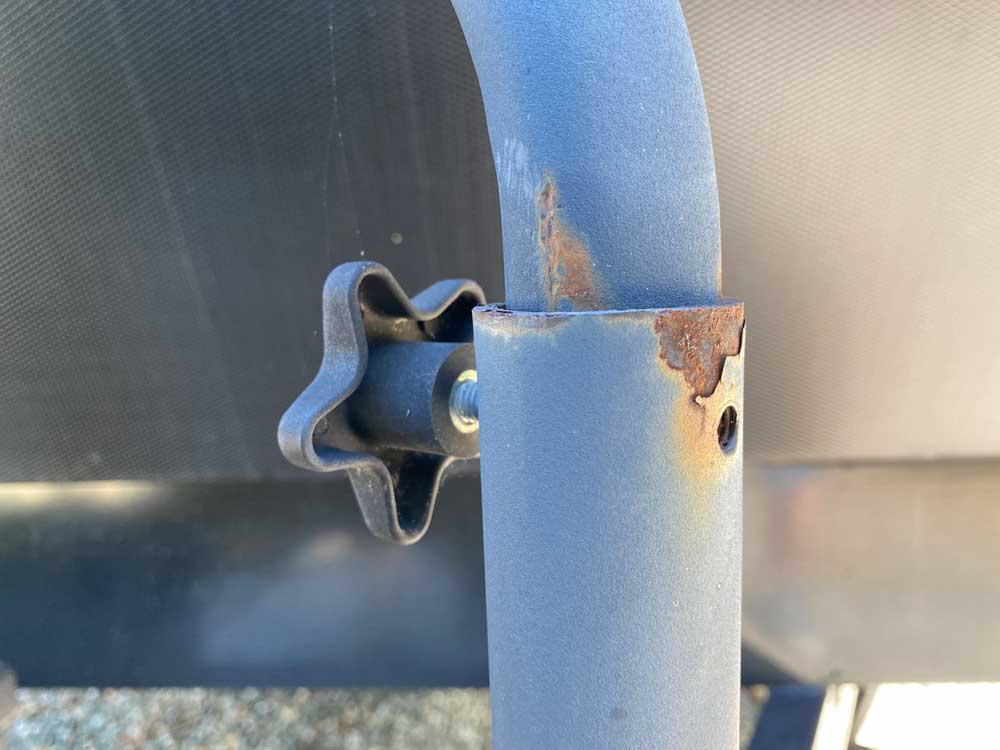
The final step in our project was to paint the base. There were a few places where paint had started to peel. We scraped off the chipped paint, used a Scotch Brite pad to ensure a clean surface, and then painted the base with a coat of black Rustoleum paint.
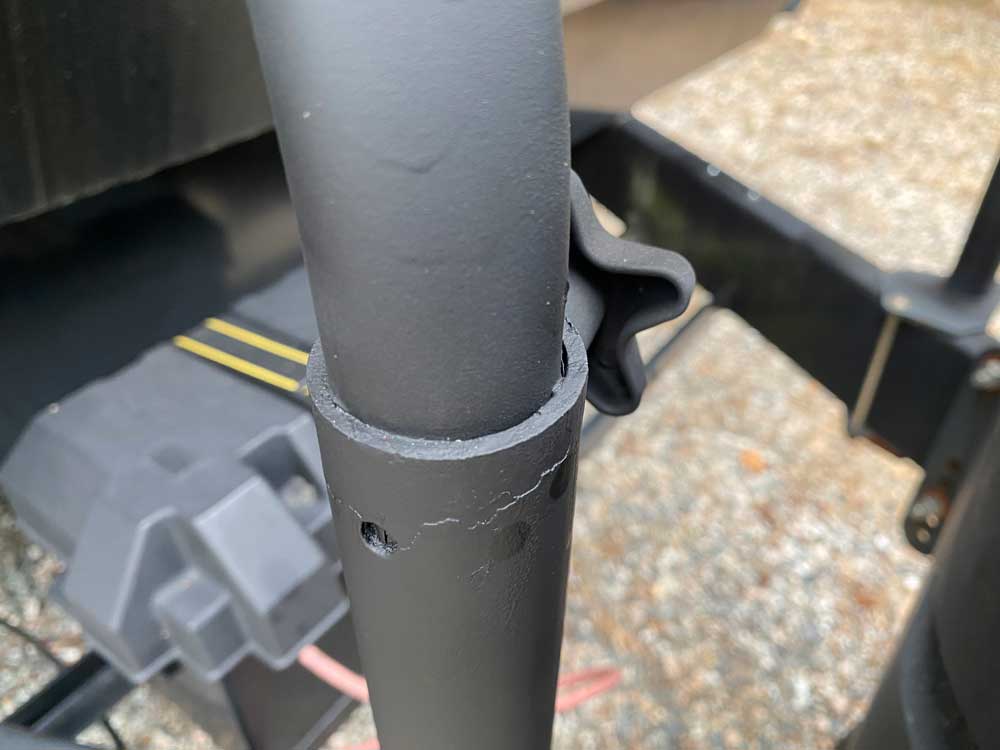
Overall, this was a fairly easy project. The biggest challenge was removing the old bars. We are glad we made the upgrades and are looking forward to another season of camping with our bicycles.
Our Arvika Review
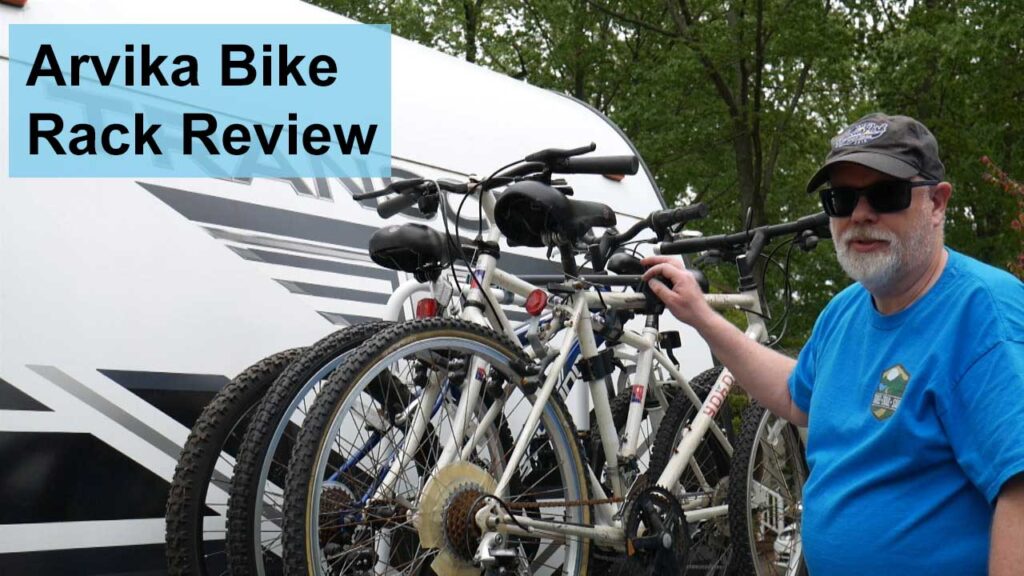
If you are interested in why we chose an Arvika bike rack for our camper, check out our Arvika Bike Rack Review. If you prefer, we have an Arvika Bike Rack Review YouTube video.
How to Buy an Arvika Bike Rack
If you’d like to purchase an Arvika bike rack and are looking for a discount, you can use our affiliate code TRAVEL10 to receive a 10% discount.
Arvika racks are sold factory direct. You can check out their line of RV bike racks at Arvika.ca Note: if you use this link, we may also receive a commission on qualifying purchases.
Thanks
Thanks for checking out our Arvika Bike Rack upgrade & maintenance project. What do you do to ensure your camper and gear are ready for adventure? We’d love to hear – please leave a comment.
Thanks again to Arvika for the new bars, clamps, and parts. We really appreciate it!
Copyright 2022 Travel Trail Sail. All Rights Reserved.
