
How to Winterize a Camper in 5 Easy Steps
When temps will be below freezing and the camping season is done, it’s time to winterize your travel trailer. How to winterize a camper in 5 easy steps.
I’ll walk you through all the steps in this article. We also have a YouTube video that walks you through How to Winterize a Camper.
Steps to Winterize a Camper
Winterize a Camper Step 1: Empty Holding Tanks
On your last camping trip for the year, ensure that the tanks are completely empty. If you normally add a black tank treatment with a gallon of water, don’t add it this time. It’s also a good idea to give the black tank a rinse before the end of the season. If you have a black water flush, be sure to use it. If not, consider getting a black tank rinsing wand.
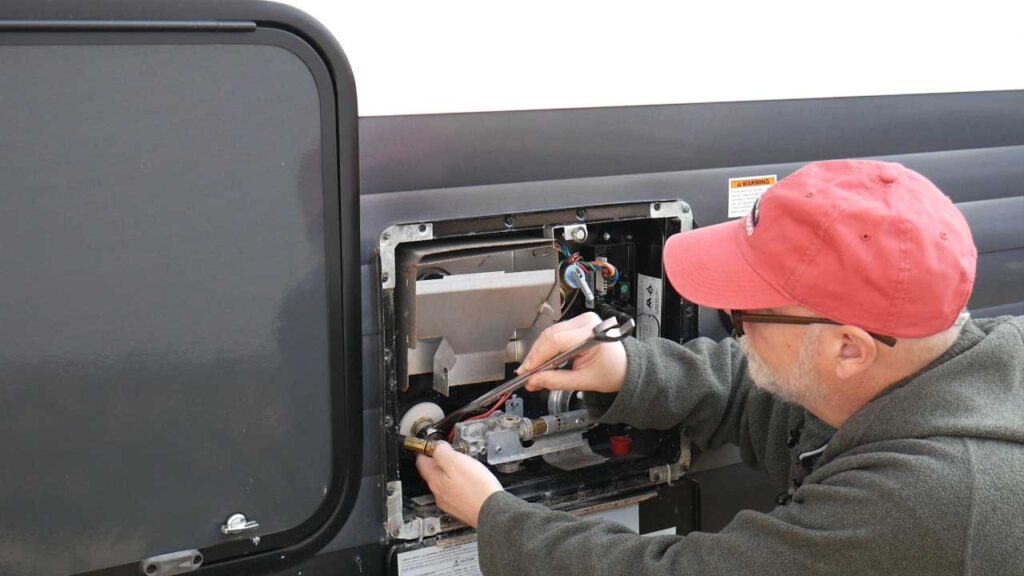
Winterize a Camper Step 2: Drain the Water Heater
Remove the plastic drain plug from the water heater. You’ll want to use either a closed end wrench or a ratchet with an extension to get around the water heater pipes. A common size plug is 15/16 inch. You can open the pressure release valve to help the water drain faster. Of course, you’ll want to be sure that the water isn’t hot before you begin this step. Leave the plug out for a few minutes to ensure the heater is fully drained. Then, replace the plug so that you can find it next spring.
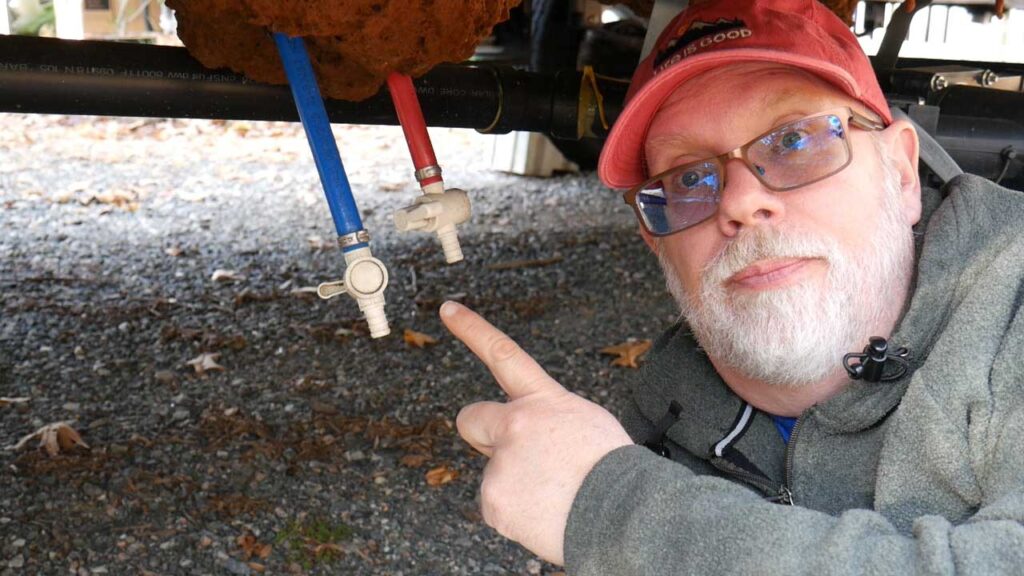
Winterize a Camper Step 3: Open Low Point Drains
Look for a water pipe coming from the bottom of your travel trailer. You may have a single white drain pipe or you may have two that are red and blue. Each has a valve that turns 90 degrees to open the valve. Open it and let all the water drain.
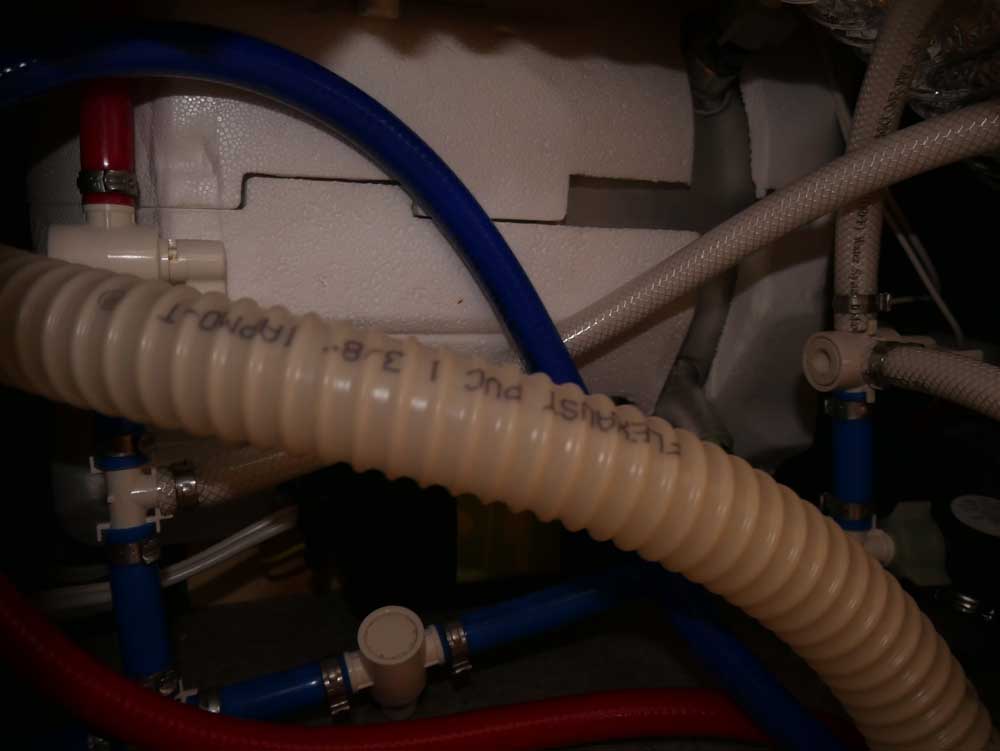
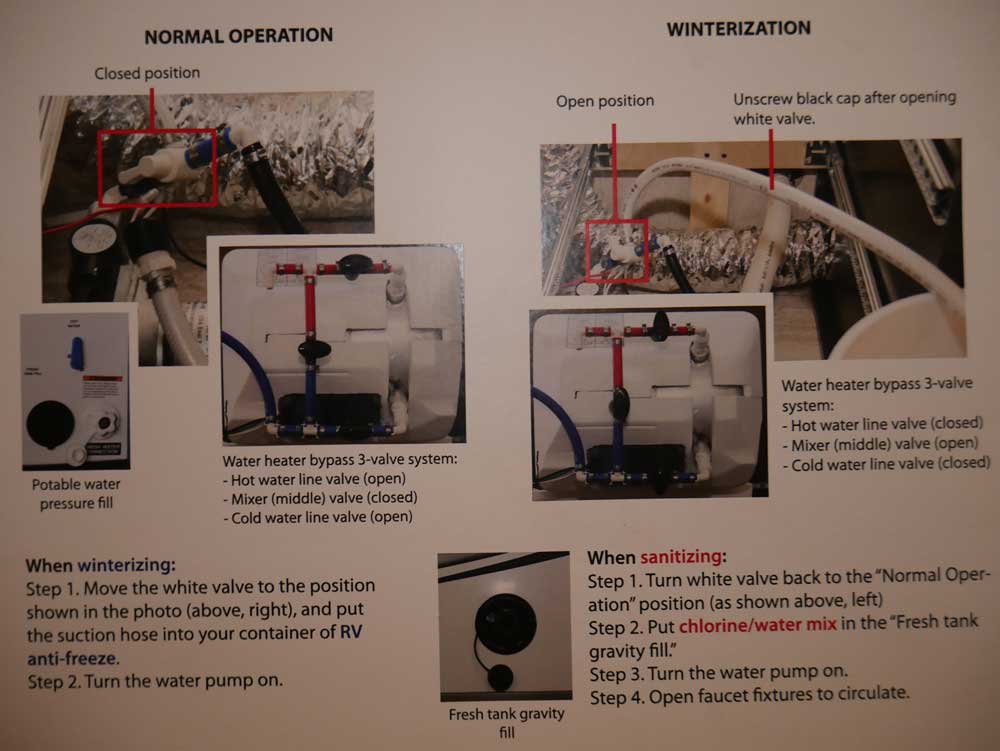
Winterize a Camper Step 4: Divert Pipes From Water Heater
Inside your camper, you’ll need to find the water heater diverter. It may be located under a bed, behind a cabinet or behind a special panel. Your camper manufacturer should have provided a diagram that indicates the proper setting for winterization. You’ll likely need to turn three valves that change the water flow so that water is not going to the hot water heater. You’ll also need to ensure the winterization hose valve is open.
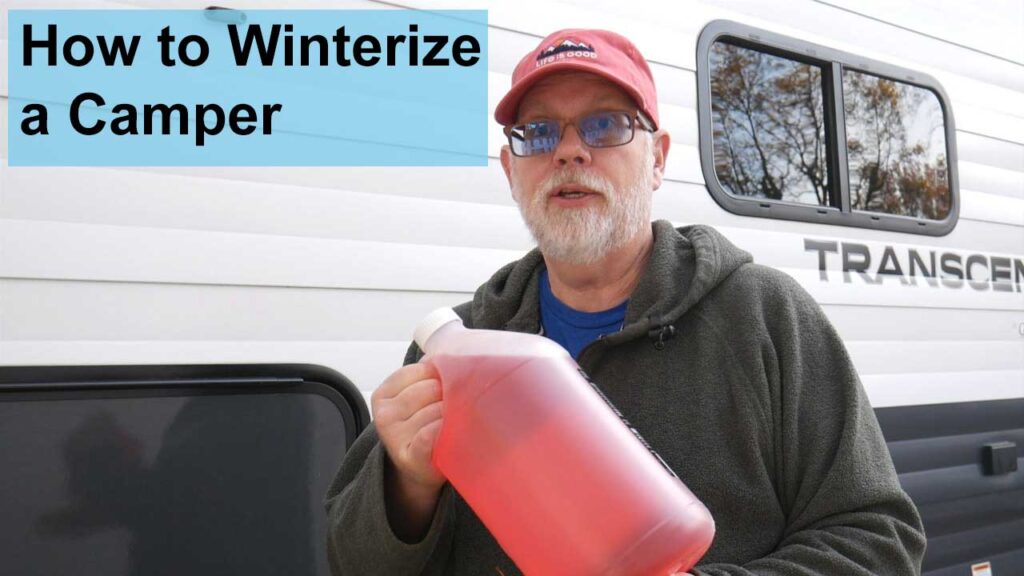
Winterize a Camper Step 5: Add Antifreeze
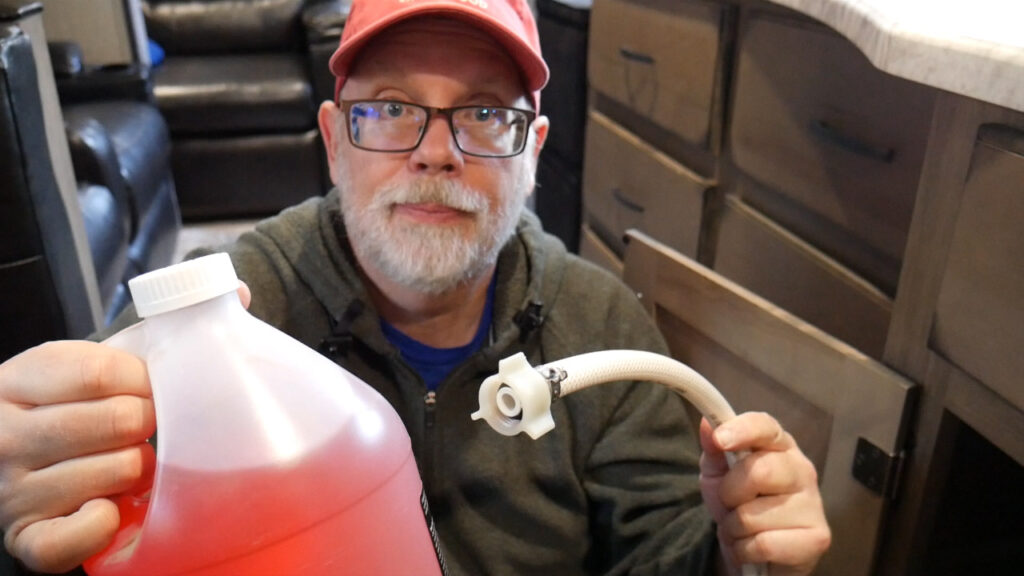
Once the hot water heater has been bypassed, you are ready to add antifreeze. The antifreeze to use is a special RV antifreeze intended for use in freshwater pipes. There are several brands available and you can typically find this at Camping World, Walmart or another store. For many campers, 2 gallons should be enough.
Near the water pump, there will be a suction hose intended for winterizing a camper. Insert the antifreeze suction hose into a gallon bottle of antifreeze. If it does not fit, you can pour the antifreeze into another container and insert the hose into that.
Turn on your water pump. The switch for the water pump is likely on your RVs master control panel along with things like holding tank sensors and the slide switch.

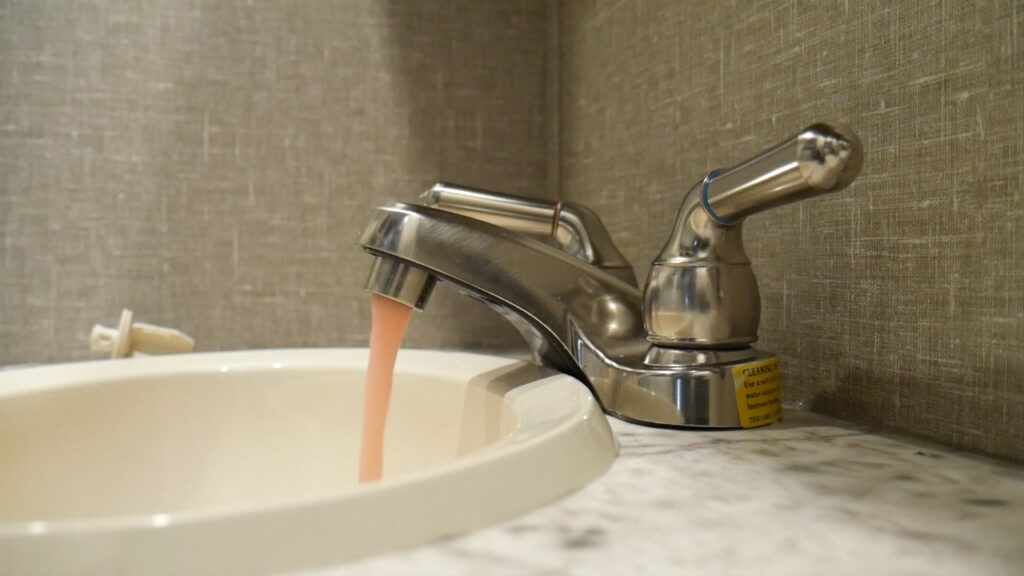
Open each faucet and let it run until you see pink antifreeze flowing through it. Open the cold and then the hot water faucet at each sink and the shower. Flush the toilet and keep it open until it flows pink. Ensure you also run antifreeze to your outside shower or water port.
Add additional antifreeze to each holding tank through the drain and/or toilet. Note that you’ll need to turn the water pump off before opening the toilet to pour in more antifreeze.
Travel Trailer Winterization Summary
You should be all set until next spring. On your next camping trip, you’ll want to flush the antifreeze from the pipes and then sanitize your water lines. We like to stay at a full hookup campsite for our first trip of the season as it makes it a bit easier to de-winterize.
If you are looking to extend your camping season before winterizing, you might like our post Cold Weather RV Camping Tips.
I hope this was helpful. Do you have any tips to add that make winterization easier? I’d love to hear them. Please leave a comment.
Copyright 2020 Travel Trail Sail. All Rights Reserved.