
RV Tote Tank Tips: A Better Hose and Storage Setup for State Park Camping
Using an RV Tote Tank helps us enjoy state park camping without moving the camper. We upgraded our hoses and storage to improve our tote tank experience.
We love camping in state parks. They provide great access to the outdoors for our favorite hiking, biking, and water activities. However, most have only water & electric hookups, not full hookups. Having water hookups means we can take showers and wash dishes. But, the limiting factor is how much gray water your RV tanks can hold.
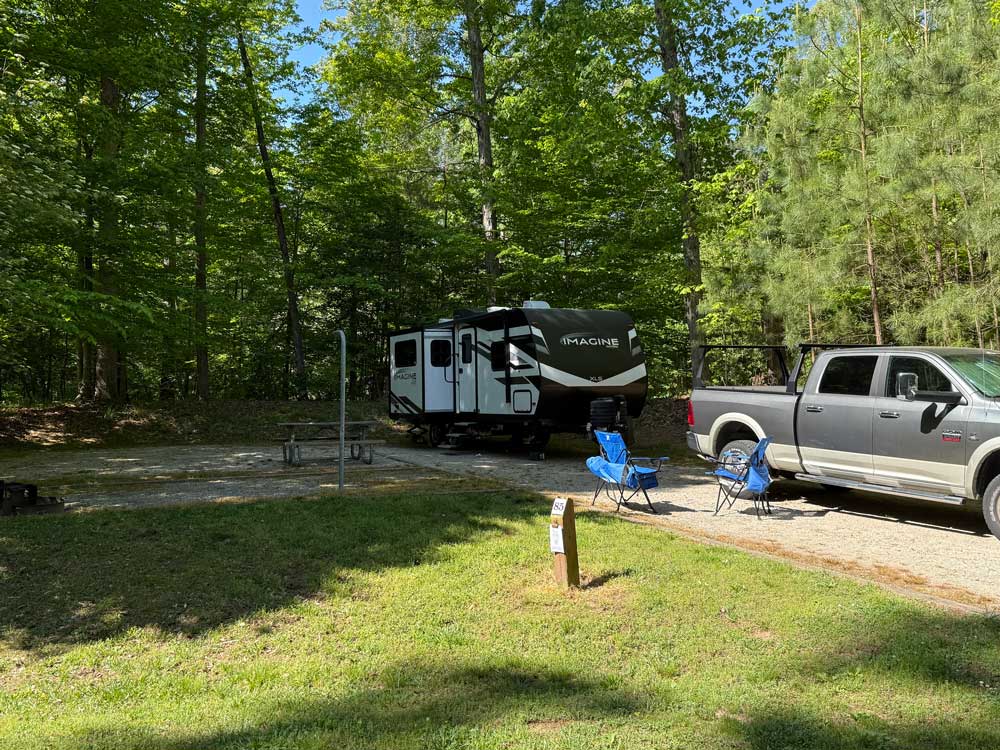
Once we are setup on a campsite, the last thing we want to do is hitch up and move the camper simply because the gray tank is getting full. Our solution is to use a portable RV tote tank that lets us carry gray water to the dump station while leaving the camper in place. Once the tanks are around 2/3 full, I simply use the tote, and we can keep on enjoying the camping fun.
When we first got a tote tank, I didn’t put too much thought into how to organize the hoses and other parts needed to use it. However, after a few seasons, I decided it was time for an upgrade. I bought a new set of hoses, fittings, and a storage bin to keep everything needed together in one place. After trying it out, I thought I’d share some thoughts on our new system.
RV Tote Tank Components
To use an RV tote tank, you’ll need: a portable tote tank rated for RV waste water, a double-ended bayonet hose for transferring water from the trailer, a standard sewer hose for emptying the tote, a clear adapter for monitoring flow, a dump-station fitting, protective gloves, and a latching storage bin large enough to keep the tote-tank equipment together.
The setup requires two different hoses. To transfer gray water from the trailer to the tote, use a short hose with the same bayonet-style connection on both ends—one end attaches to the trailer outlet and the other to the tote. I find it helpful to have a clear fitting between the camper and hose to help monitor water flow.
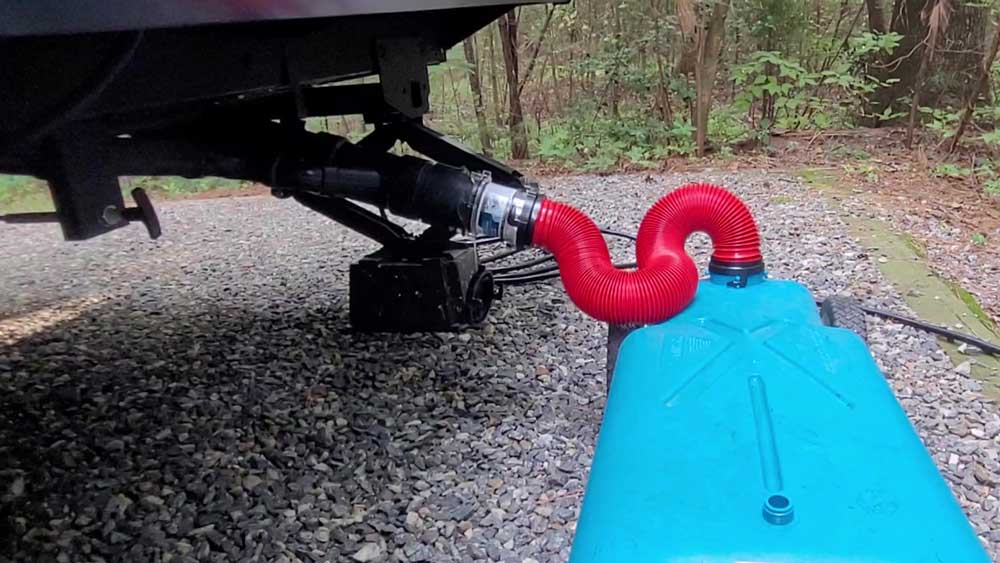
At the dump station, you’ll need a standard RV sewer hose and the appropriate dump-station fitting to empty the tote. I find that using a shorter 4-5 foot hose connected to a standard 90-degree sewer fitting works well with a tote tank.
To keep everything needed for your tote tank, it can be helpful to have a complete set of hoses in a separate bin. Putting everything in one bin helps ensure you’ll have everything you need. A bin with a clear lid helps you find the right kit needed for the job without having to open multiple bins. We found the medium-size bin available at a big box hardware store to be just the right size.
How to Use an RV Tote Tank
I watch the tank sensors and judge when it is time to use the tote tank. Our camper has two gray tanks, one for the kitchen and one for the bathroom. That helps us extend our time in camp. We can usually go 2-3 days before our tanks start to fill. When the sensors show that a tank is at about 2/3 full, if we still have more than a day of camping planned, I’ll use the tote tank.

Using a tote tank for gray water is pretty straight forward. Put the tank on level ground beside the camper. Connect the tote tank hose to the tote tank. Be sure to remove the vent hole camp, if applicable. I also add a clear connector between the hose and camper connection but that is optional. Once connected, you can open the gray valve. Water will begin flowing into the tote tank. Keep an eye and ear out to ensure you shut the valve before the tank is completely full and note that some water will continue to flow through the hose after the valve is shut. Once full, remove the hose and replace the tote tank caps.
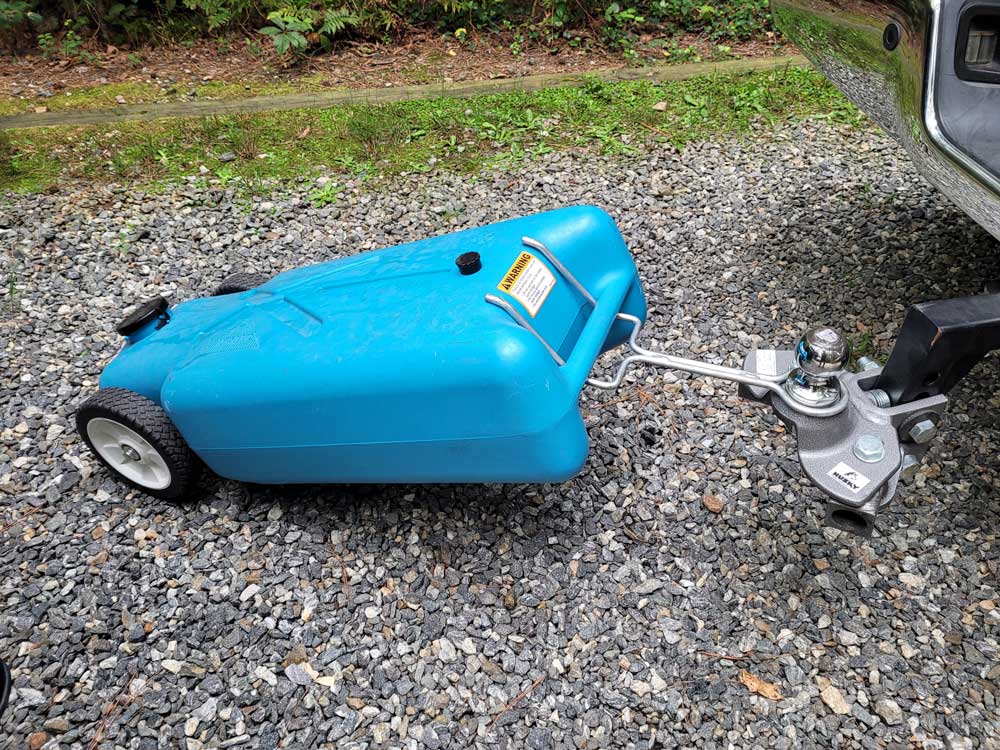
Water is heavy – about 8 pounds per gallon. That means a full 15-gallon tote tank can weigh well over 100 pounds. You’ll need to move the tank to your tow vehicle so that you can take it to the dump. Be sure to lift safely. You’ll connect the tank to your hitch ball. Then drive slowly, like 10 miles per hour, to the dump station.
At the dump station, you’ll connect the regular sewer hose and 90-degree fitting. Once the fitting is securely inserted into the dump hole, you’ll raise the tank so that the gray water empties.
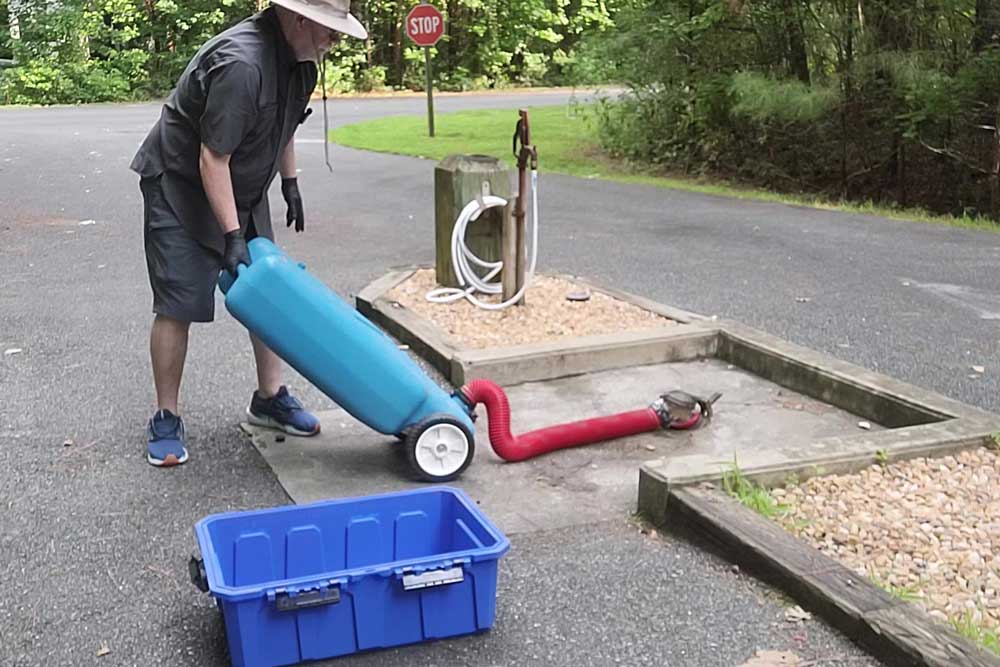
Once complete, secure all of the hoses & connectors, load them into your truck bed, and head back to enjoy more camping.
Thoughts On the New Storage System
After trying the new hoses and storage bin on our latest state park trip, the biggest improvement was having every tote-tank part together and ready to use. Keeping the right parts together and conveniently stored in the truck was much better than trying to use hoses or connectors that are stored in the camper.
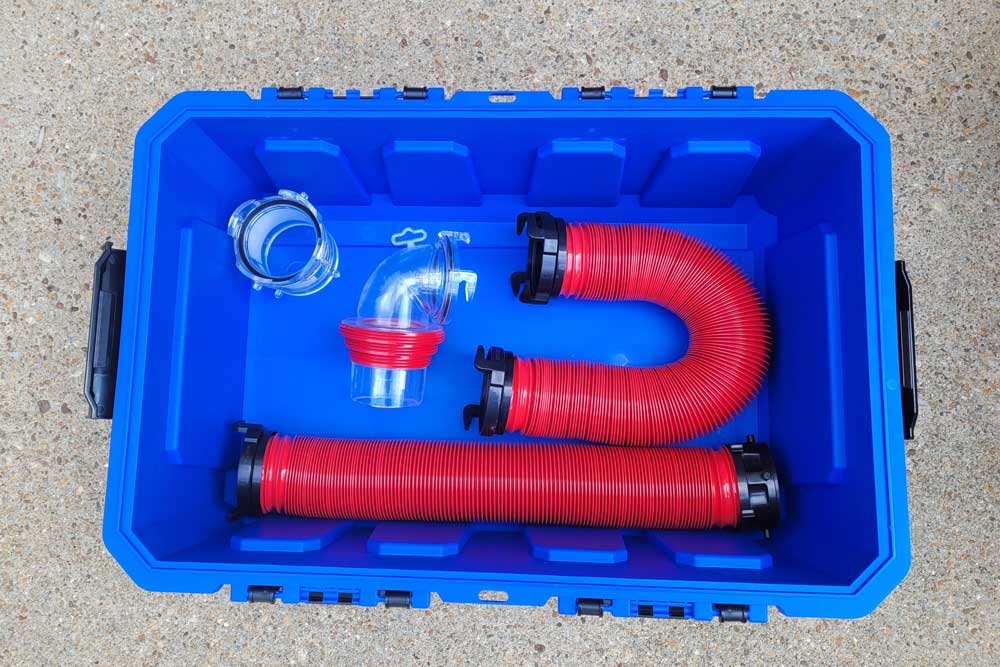
I really like the new system and plan to upgrade storage for our other spare sewer hose parts, too.
You Might Like
Hope this was helpful. If so, be sure to check out these other camping gear posts.
Video: RV Tote Tank Tips
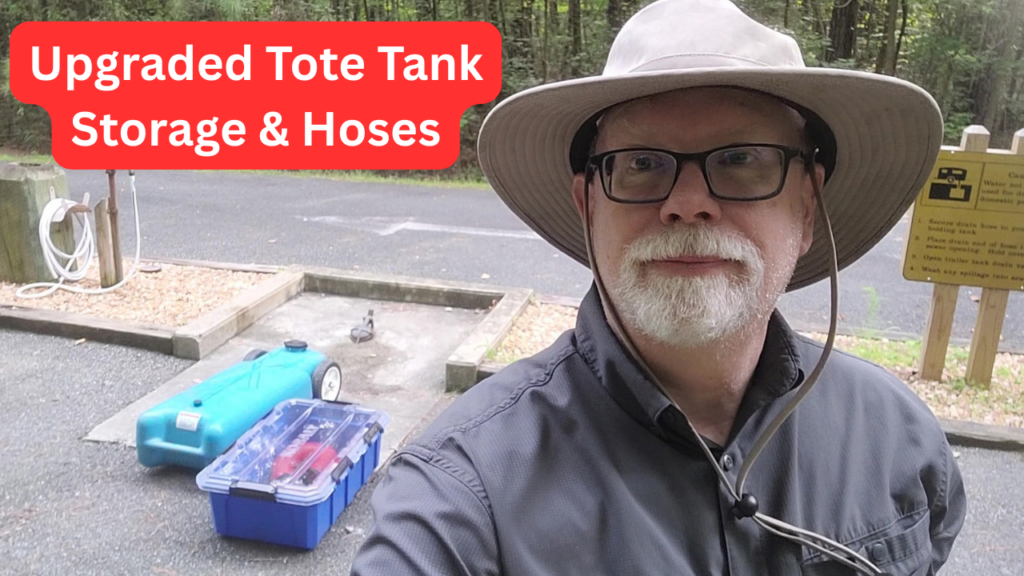
In our RV Tote Tank Tips video, we share more info on our upgraded tote tank system and everything you need to know to empty your gray tank.
Products Mentioned
Here are the products mentioned in this article. Note: these are affiliate links. If you choose to purchase by using the link there is no additional cost to you, but we earn a commission that helps enable us to continue sharing helpful information.
Kobalt Heavy Duty Medium Stackable Tote with Latching Lid
Barker 15 Gallon RV Tote Tank (Amazon Affiliate Link)
Valterra Tote Tank Hose (Amazon Affiliate Link)
Valterra 5-foot Sewer Hose (Amazon Affiliate Link)
Valterra 90 Degree Sewer Fitting (Amazon Affiliate Link)
Camco Clear 3.5 Inch Sewer Hose Adapter (Amazon Affiliate Link)
Copyright 2026 Travel Trail Sail. All Rights Reserved.